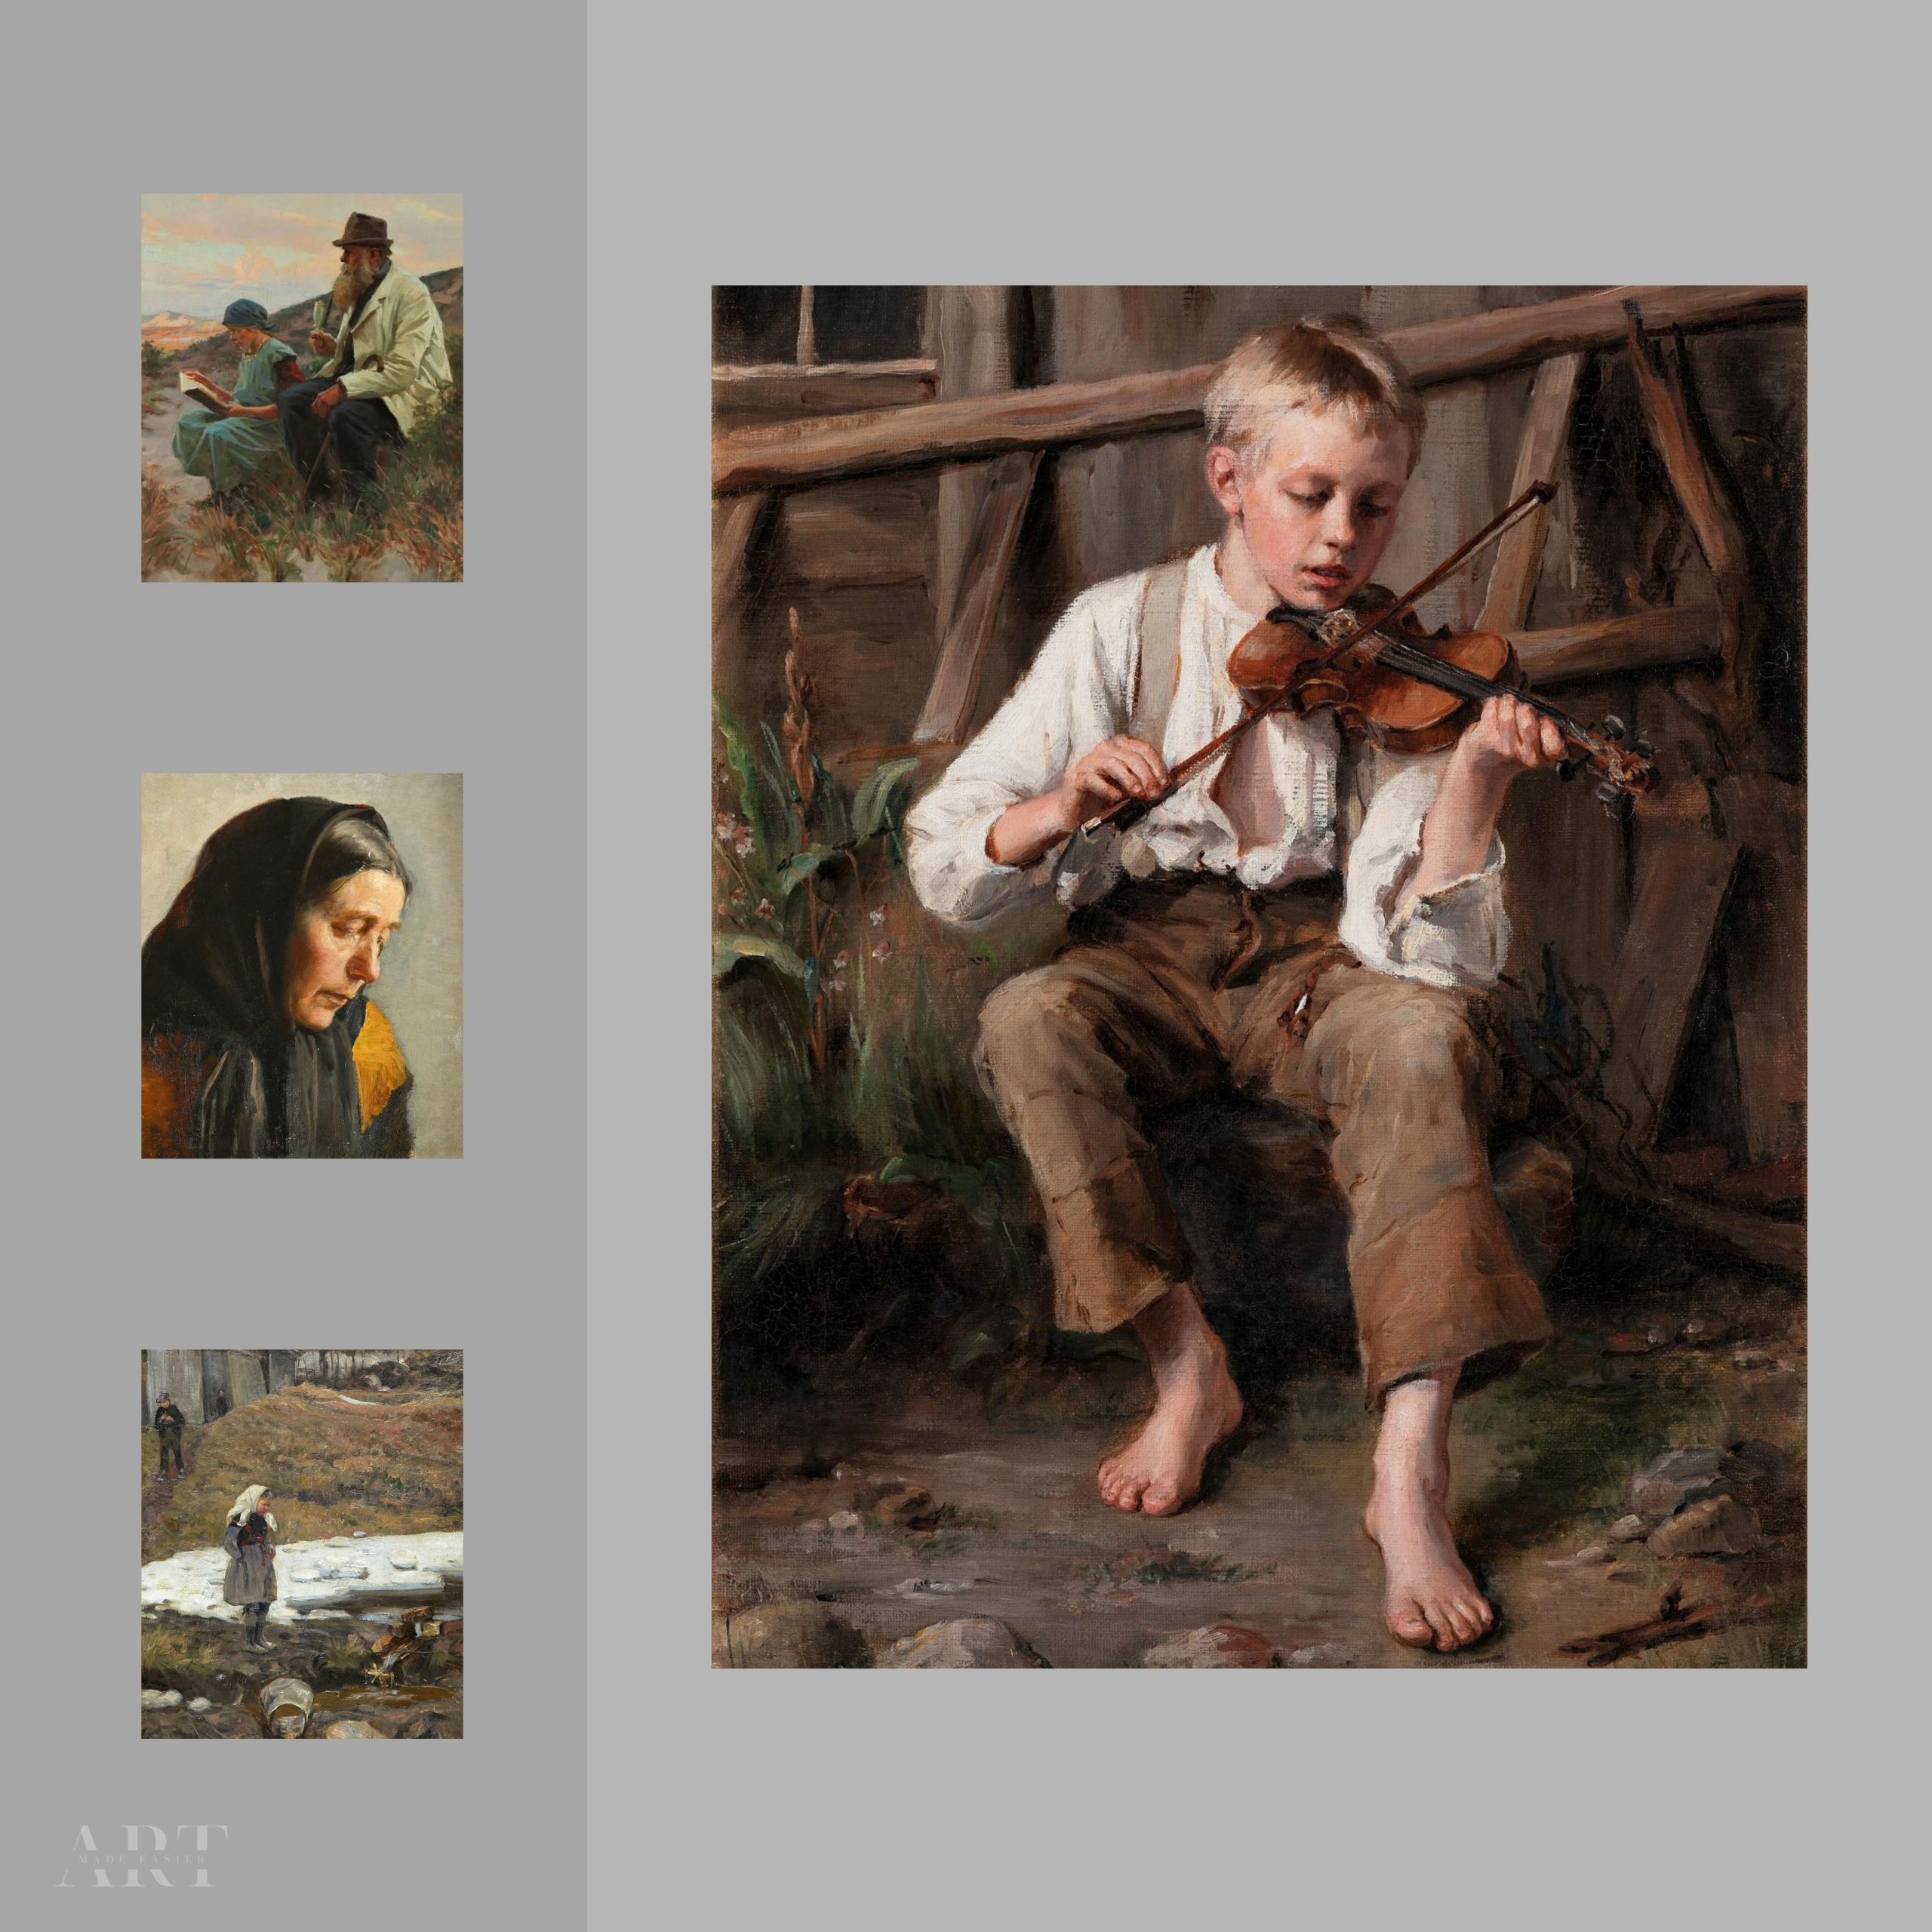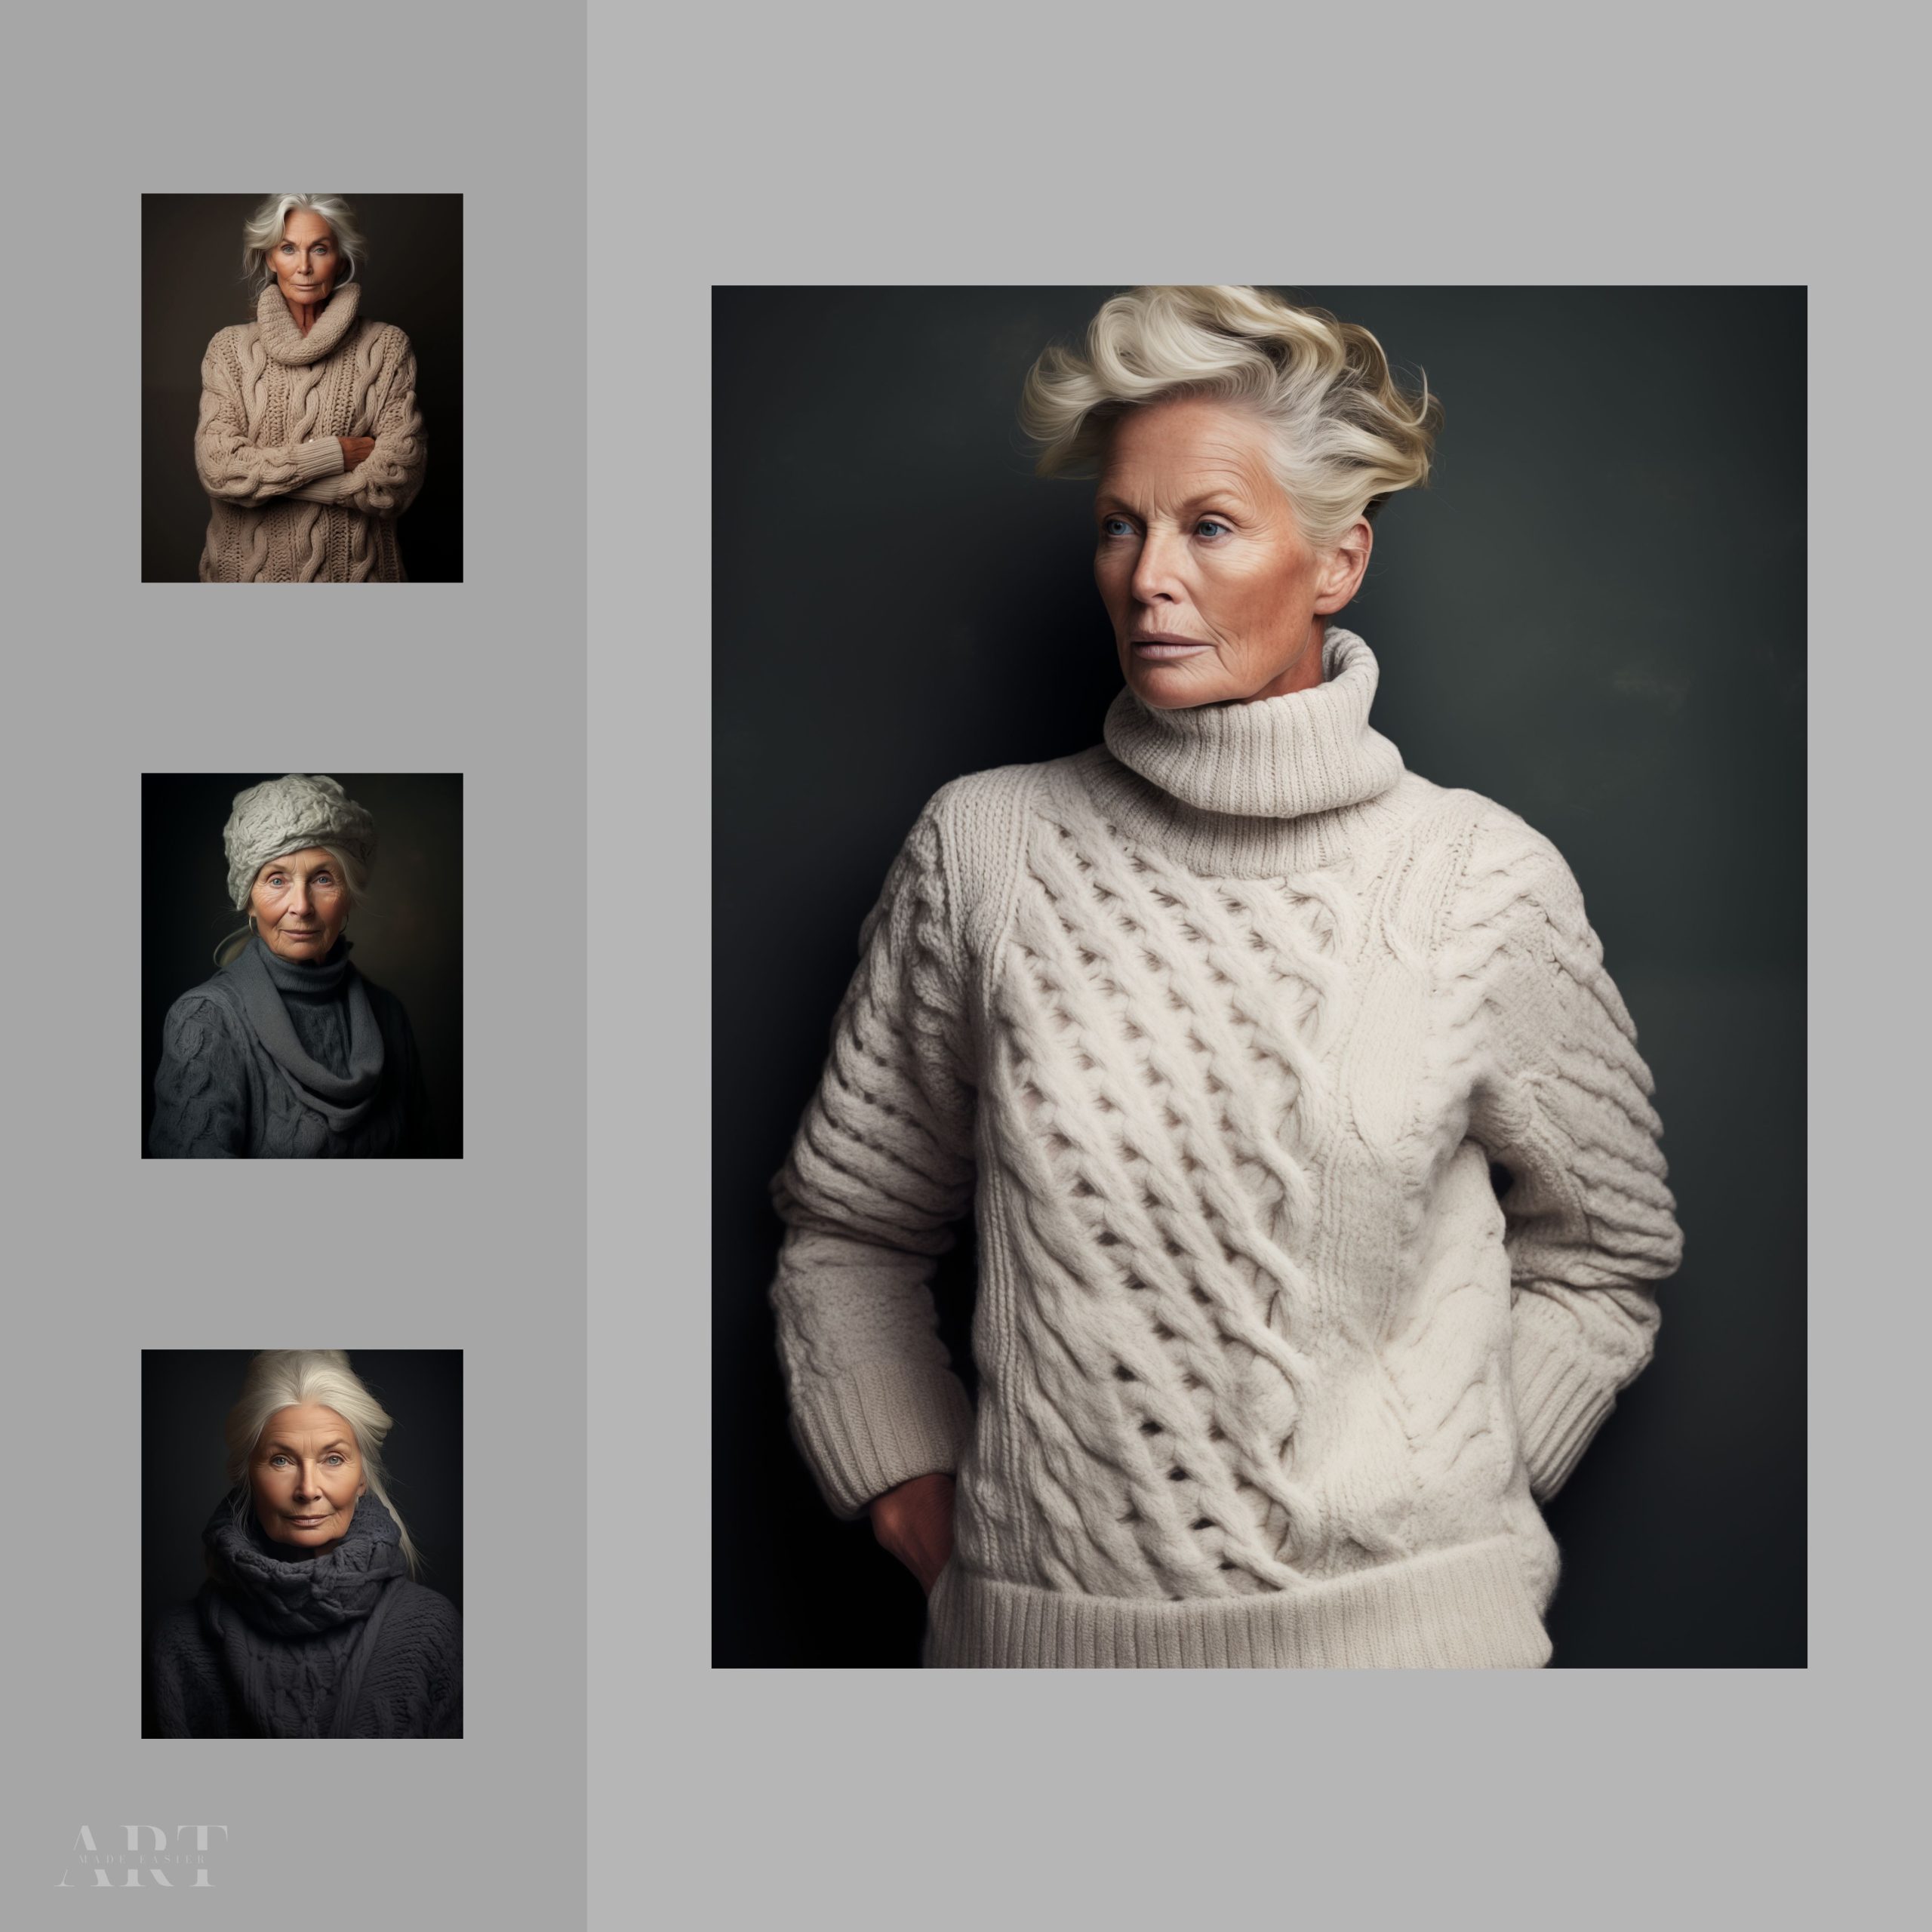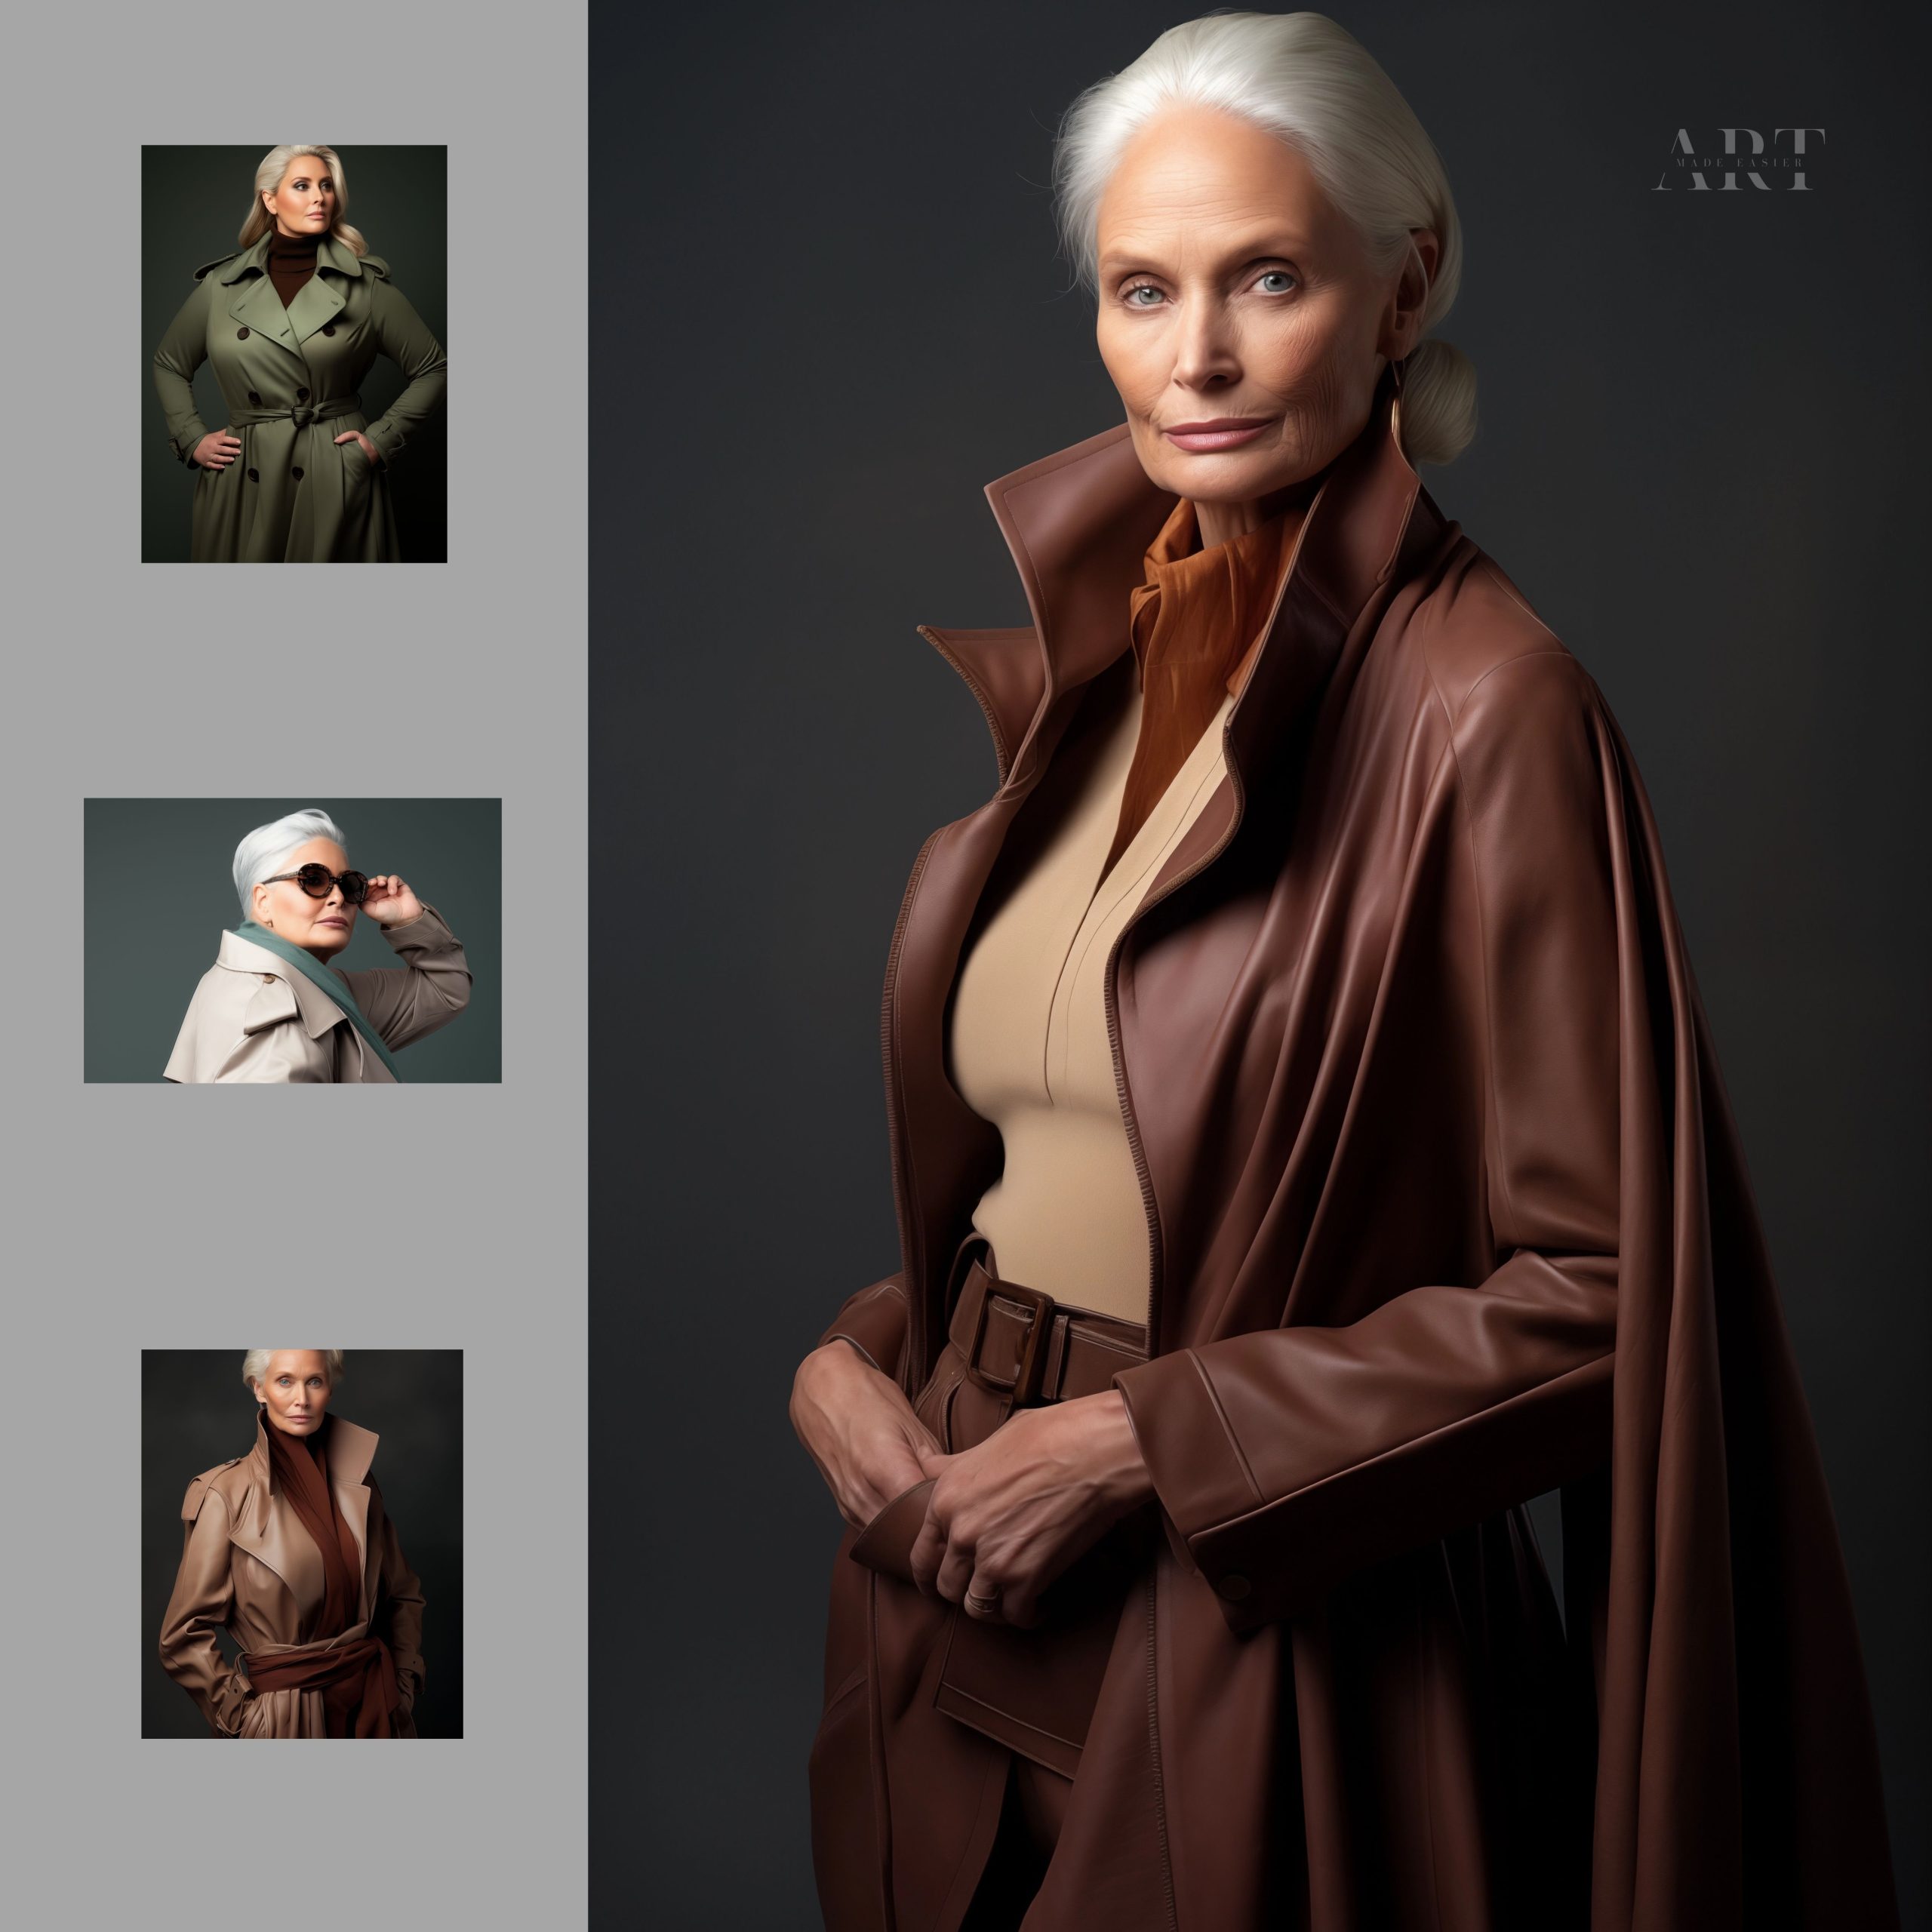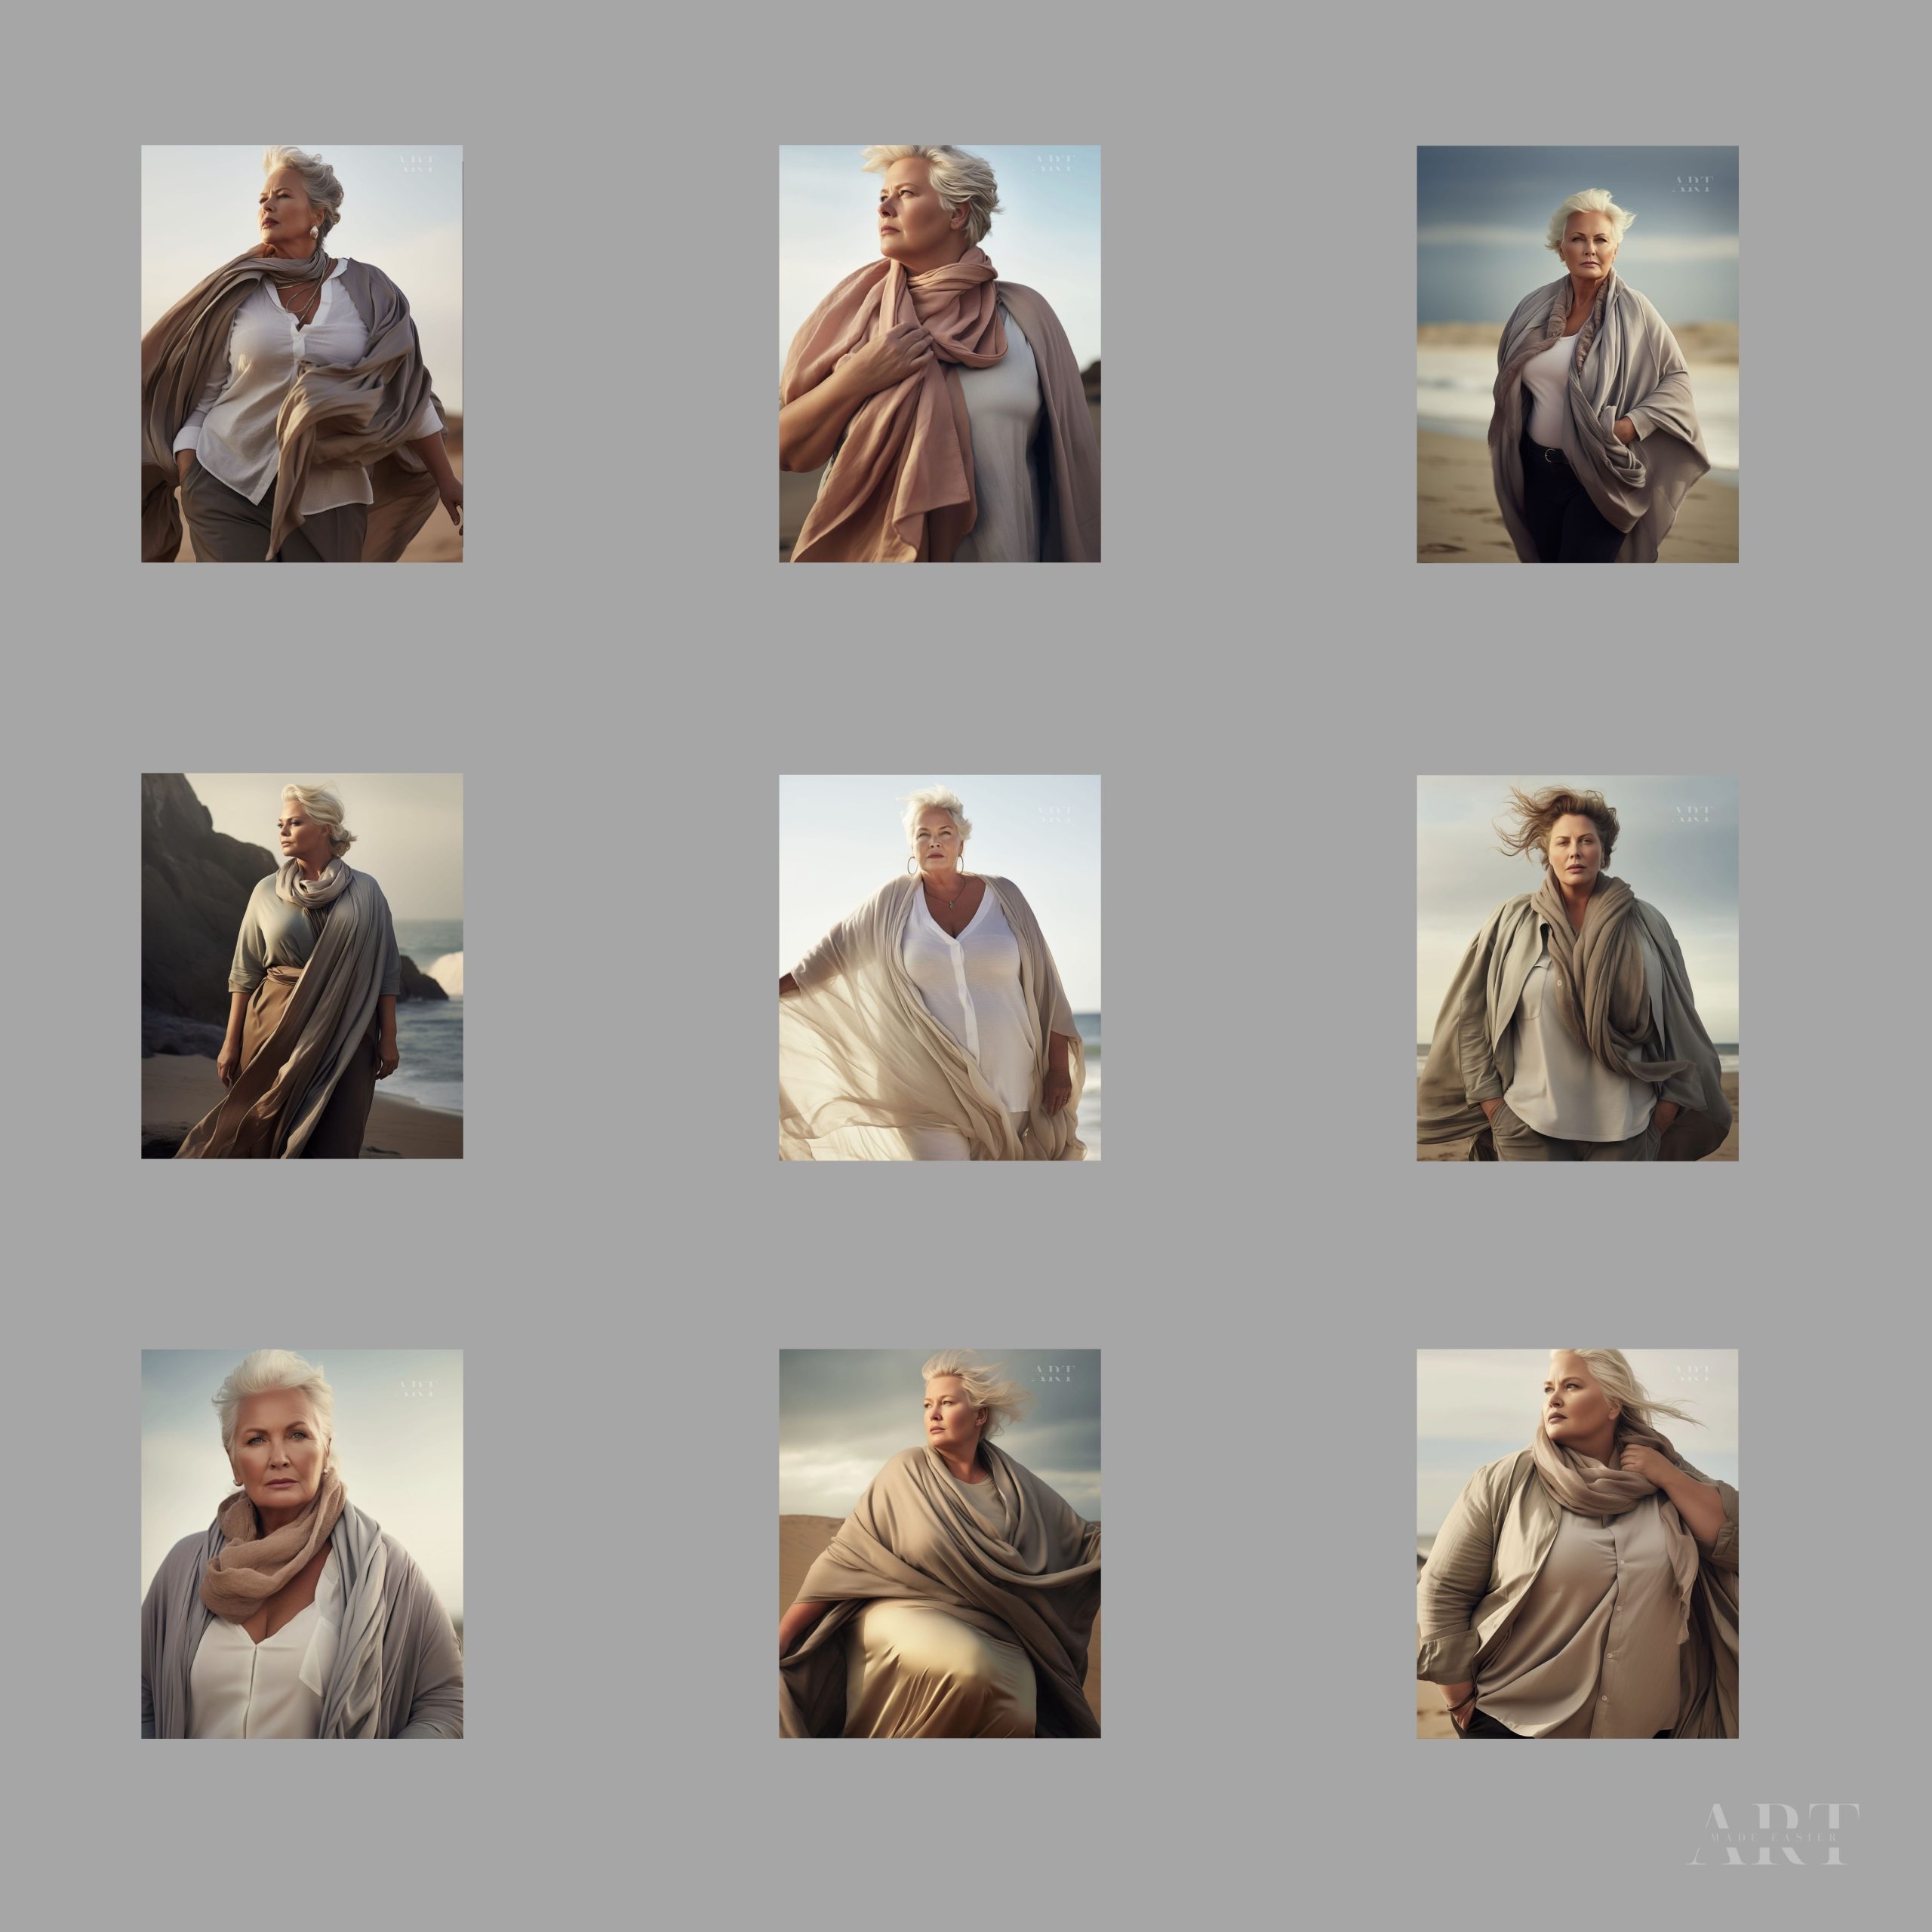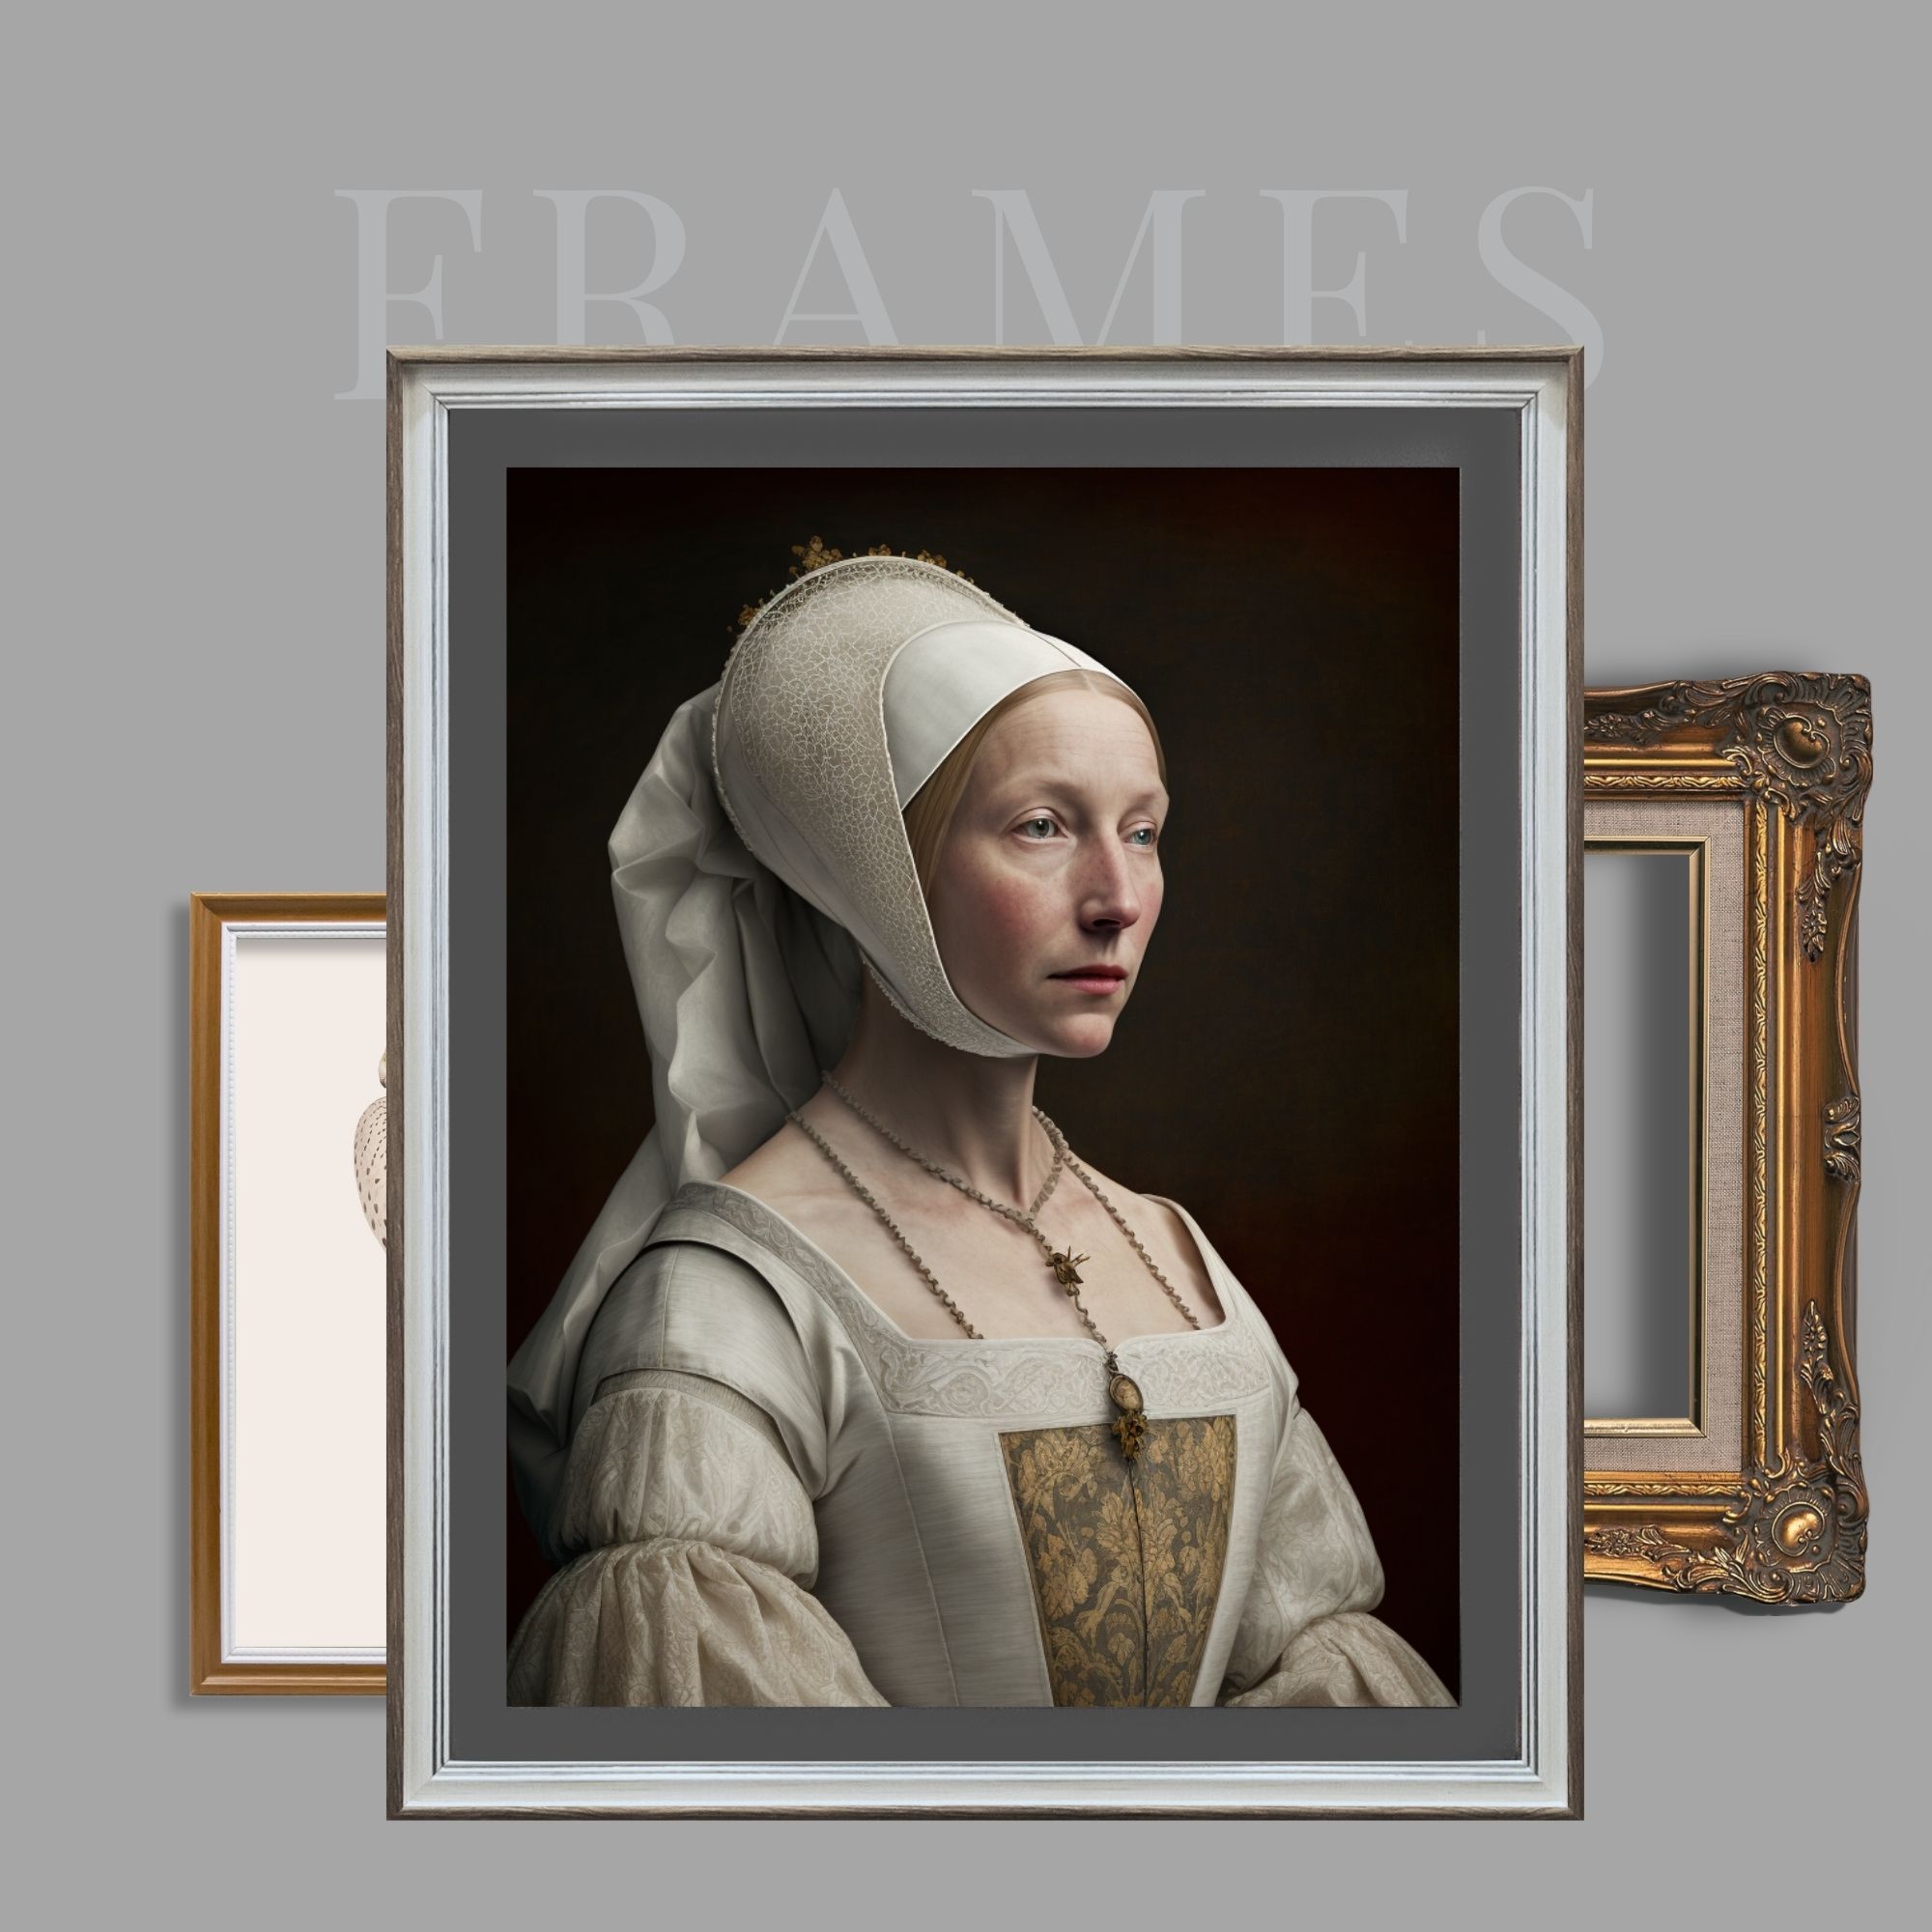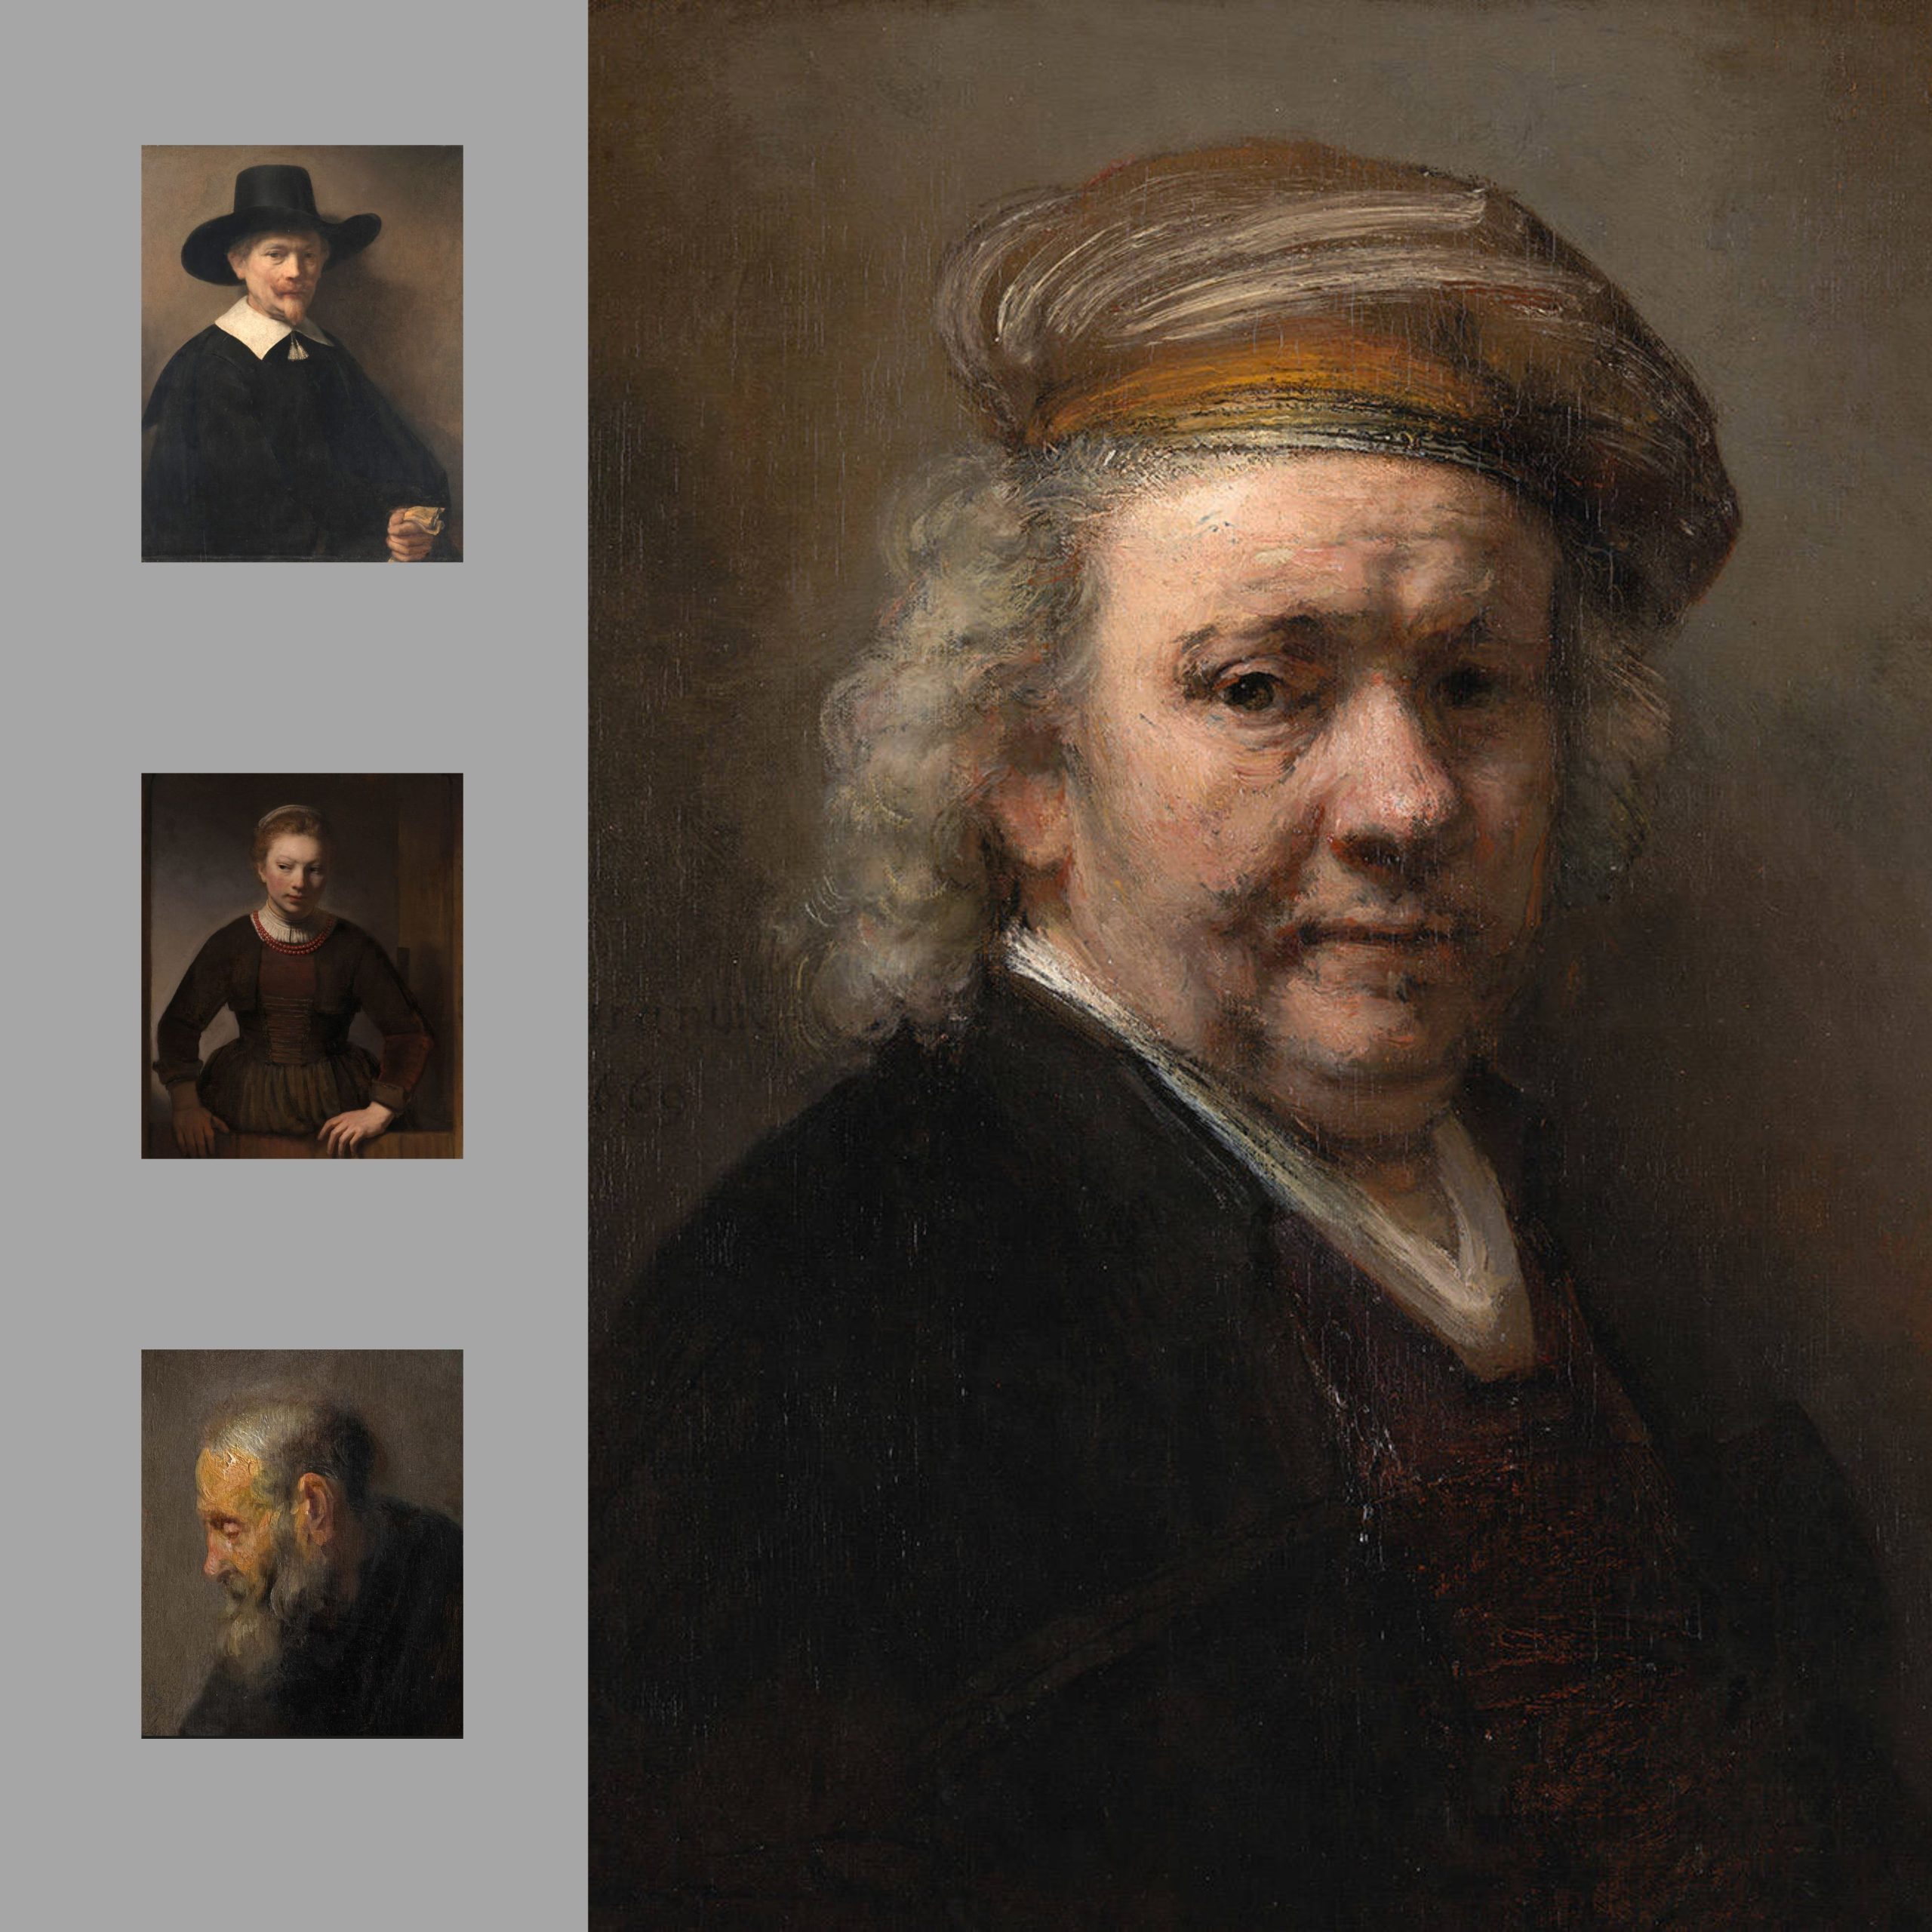
Stand out from the crowd—create art, not just photos, with digital composites.
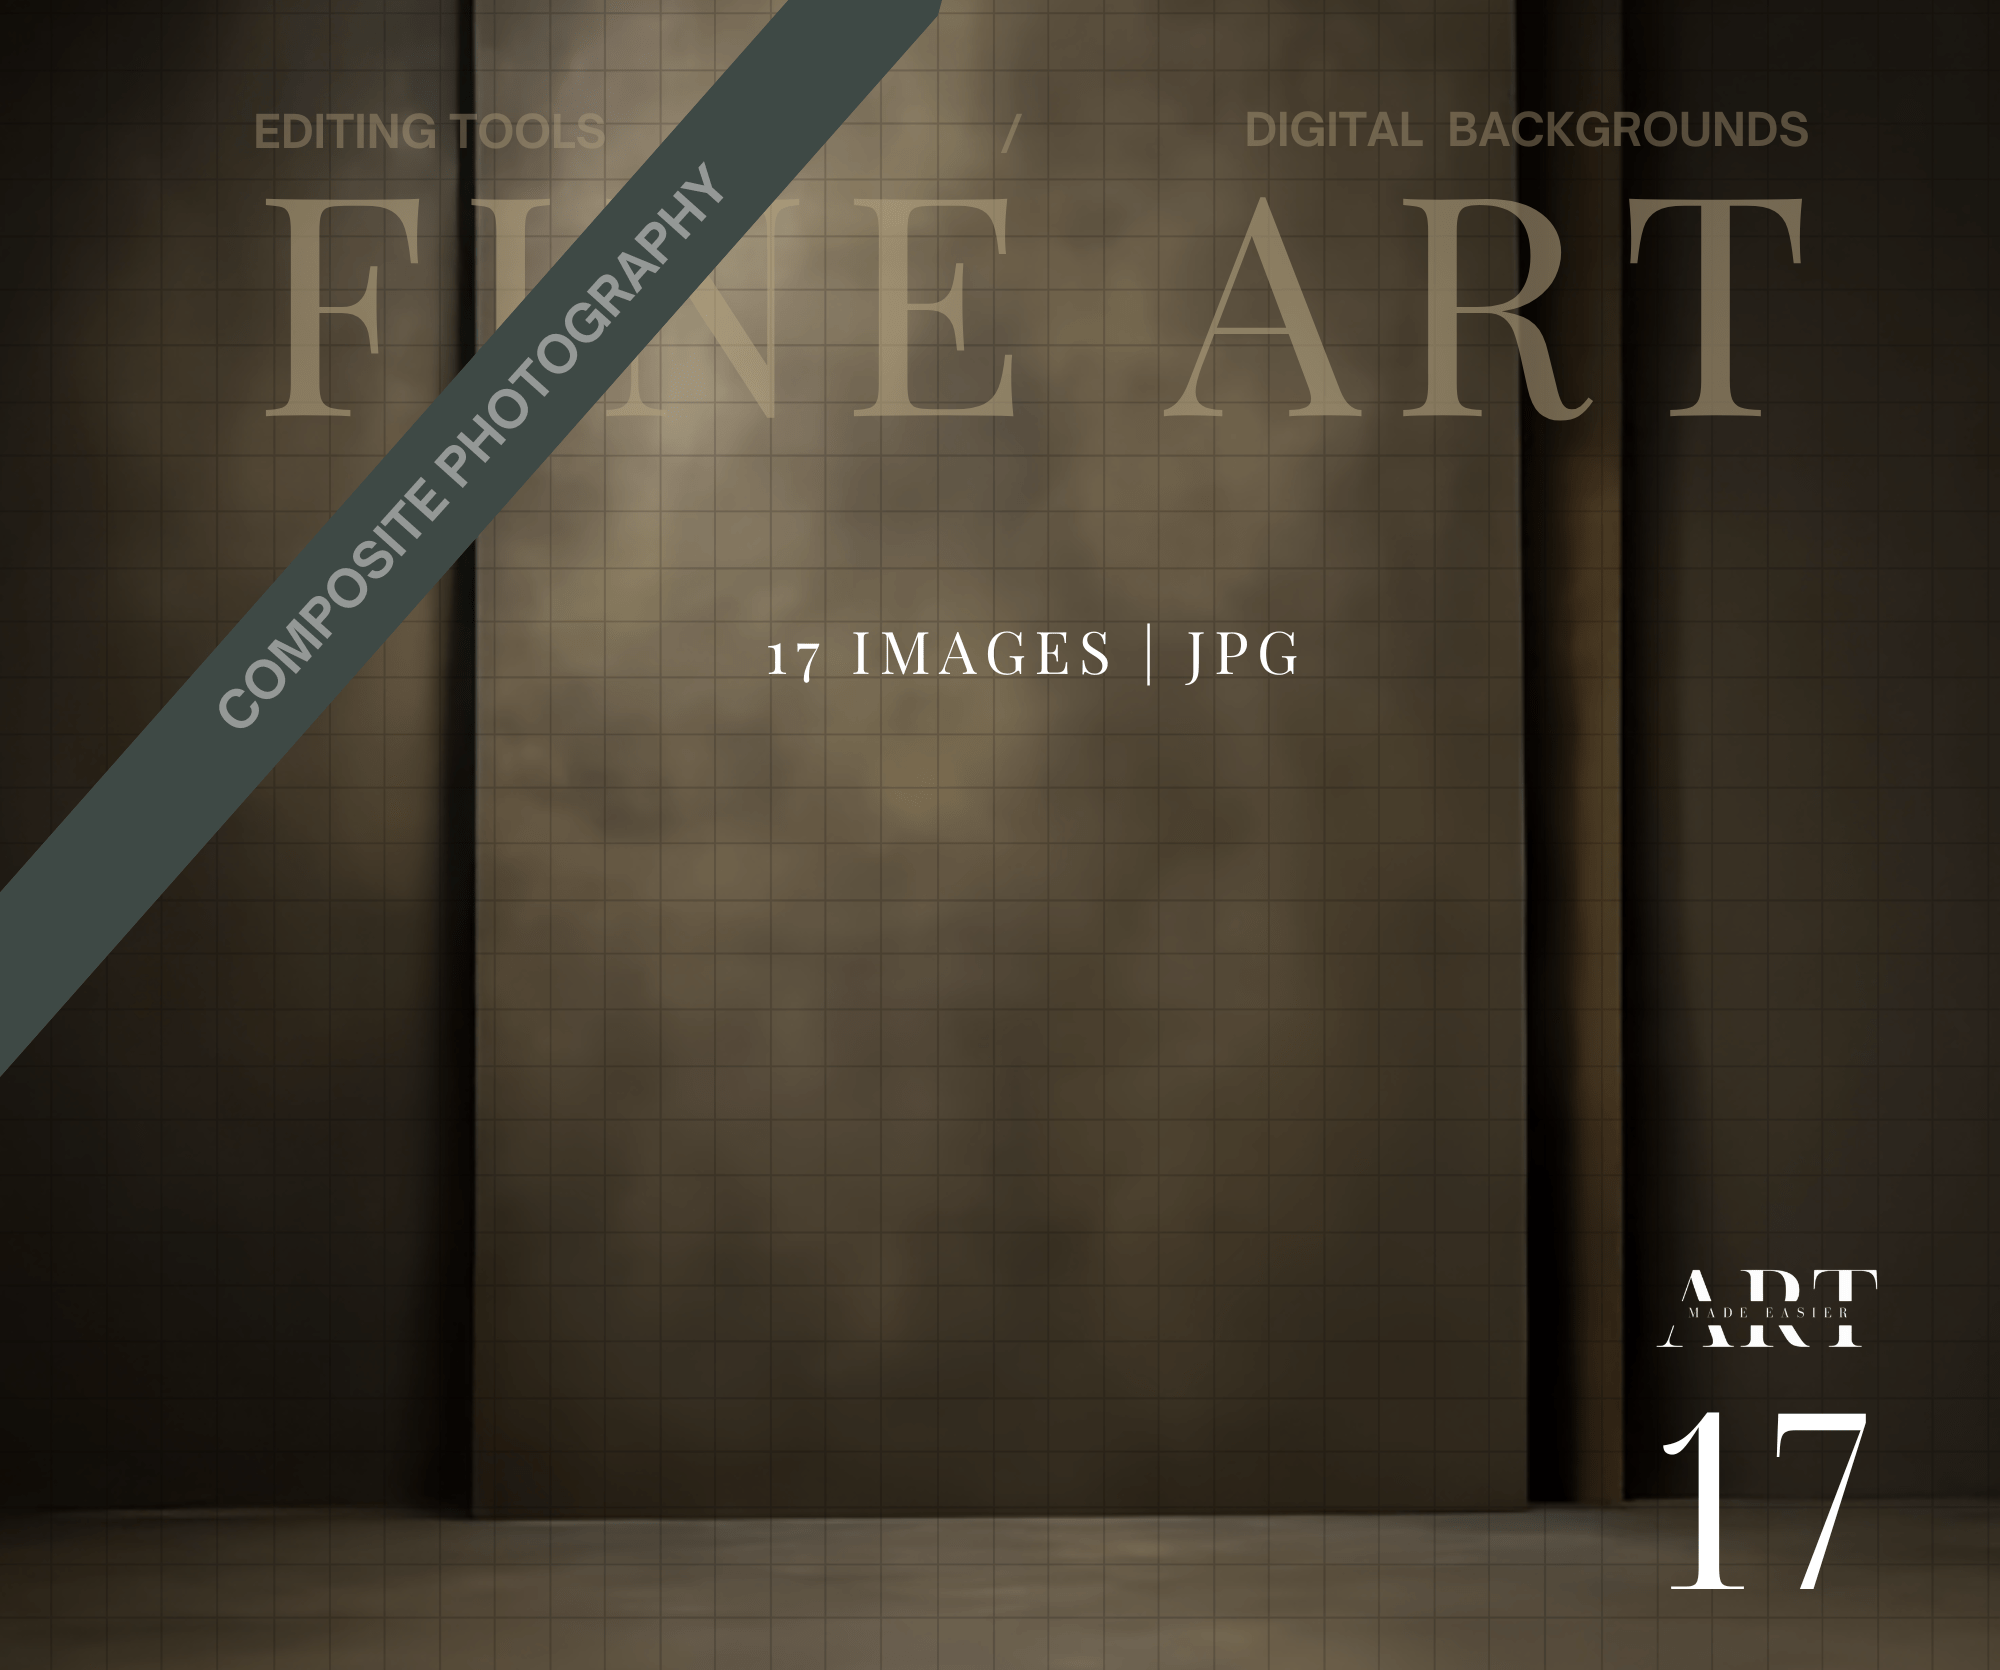
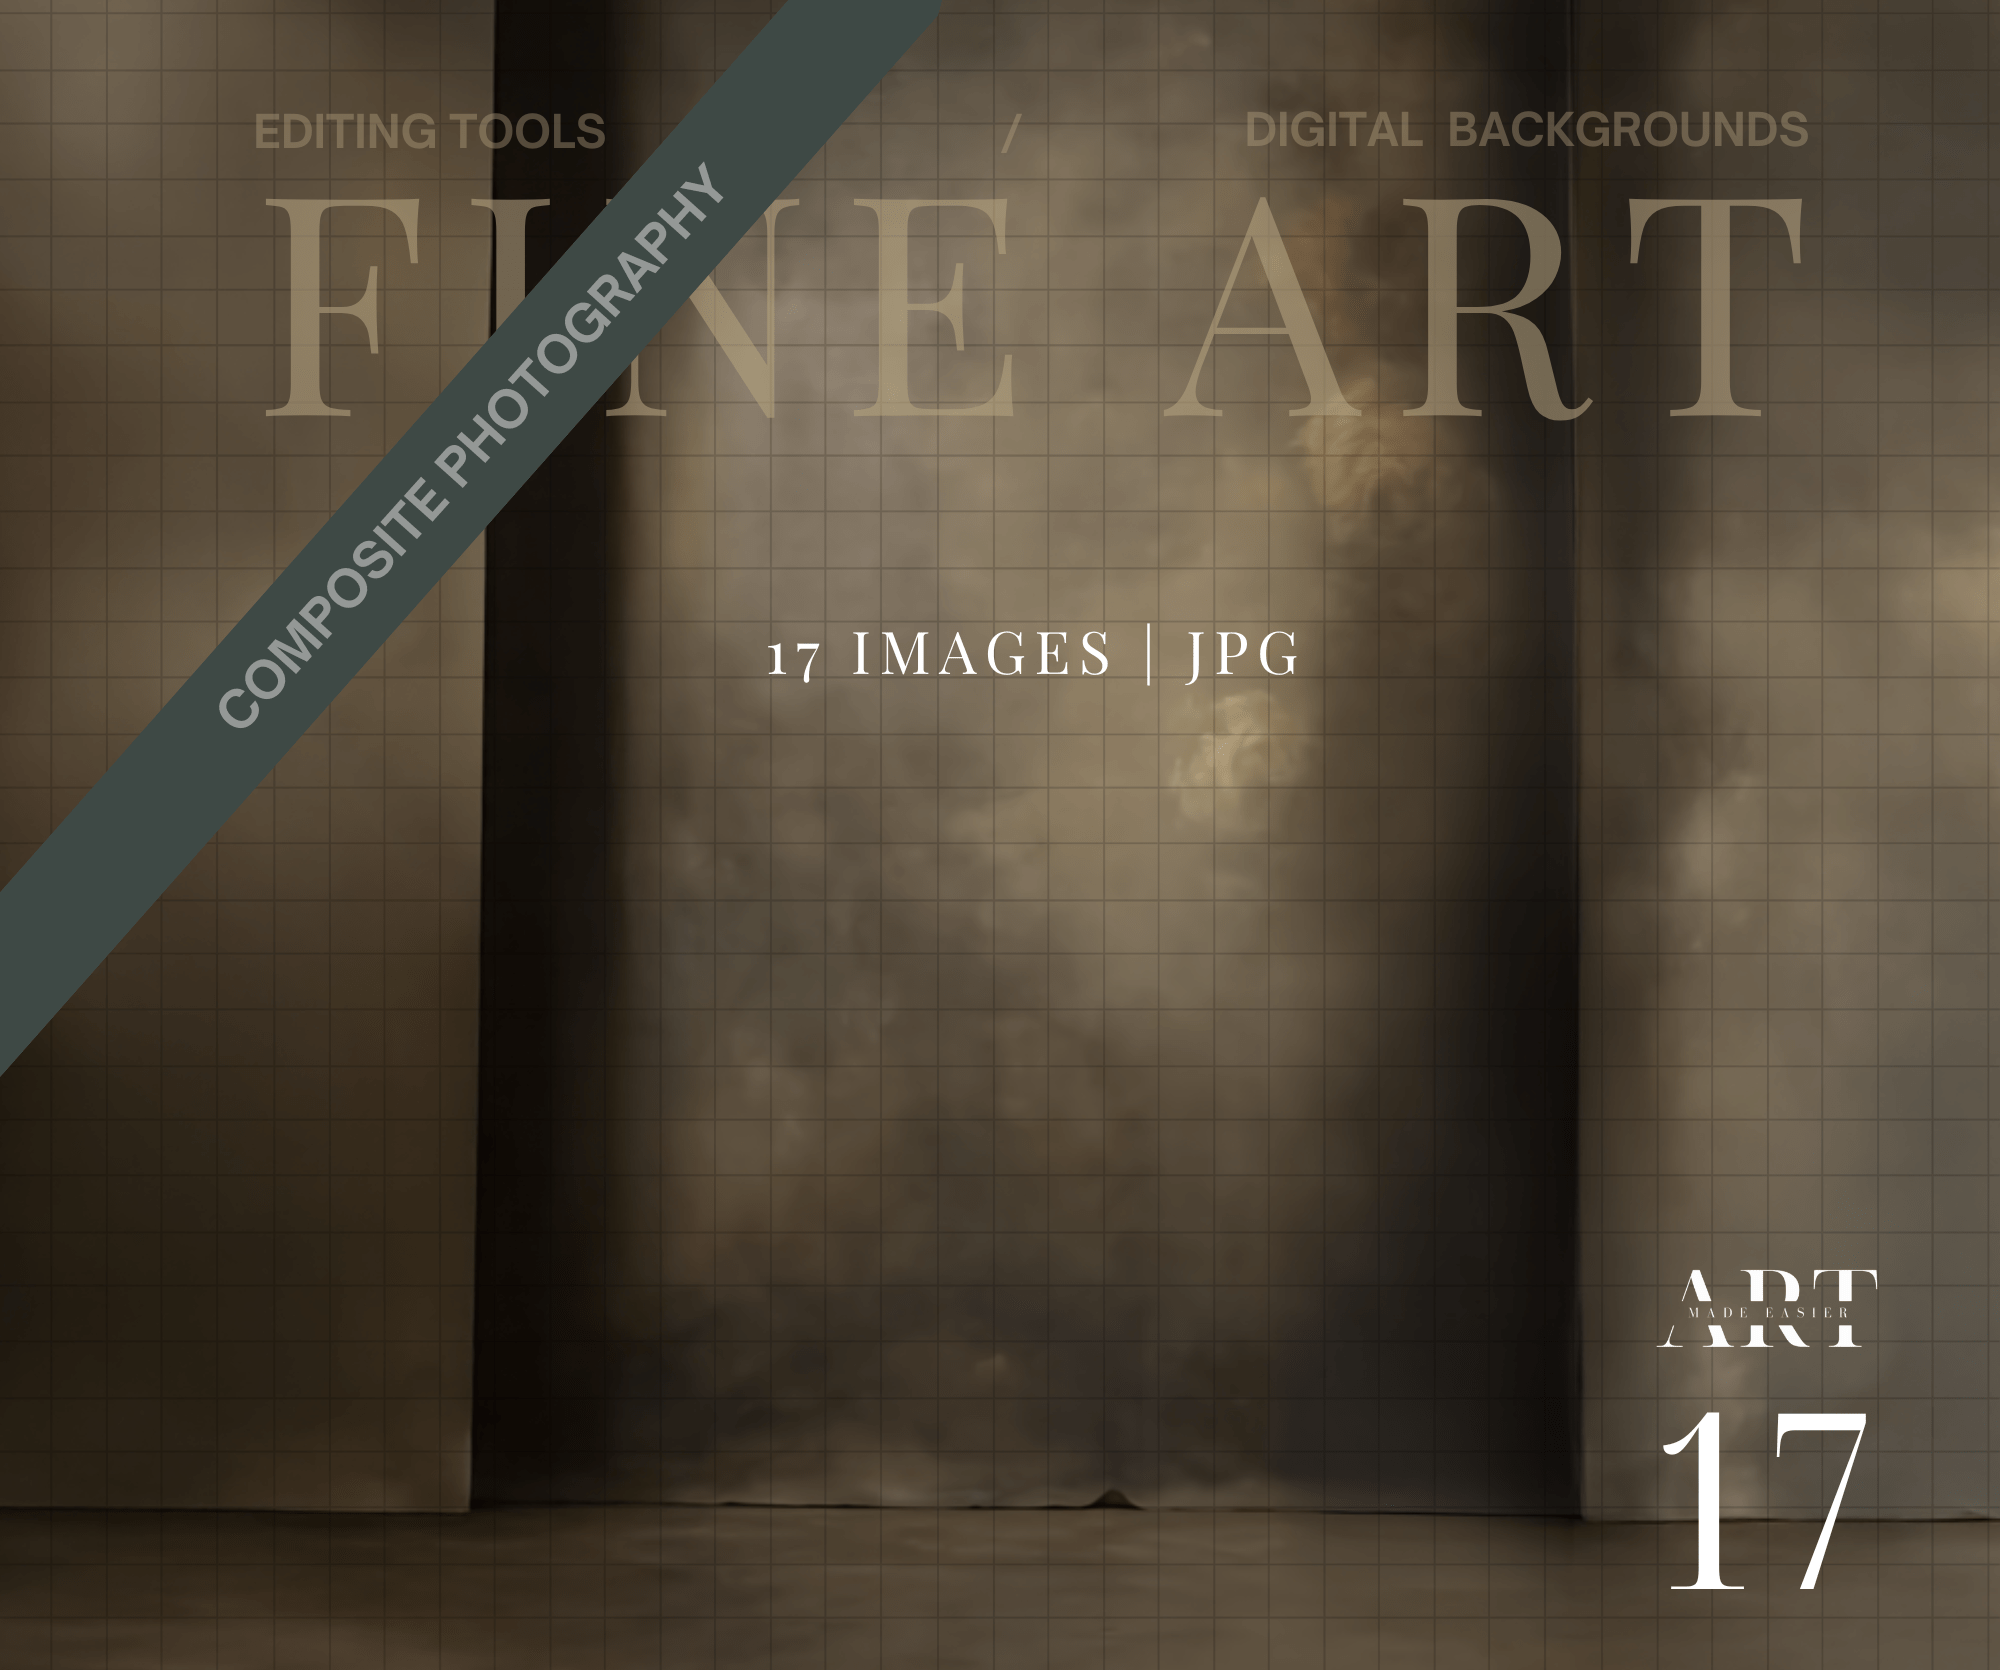
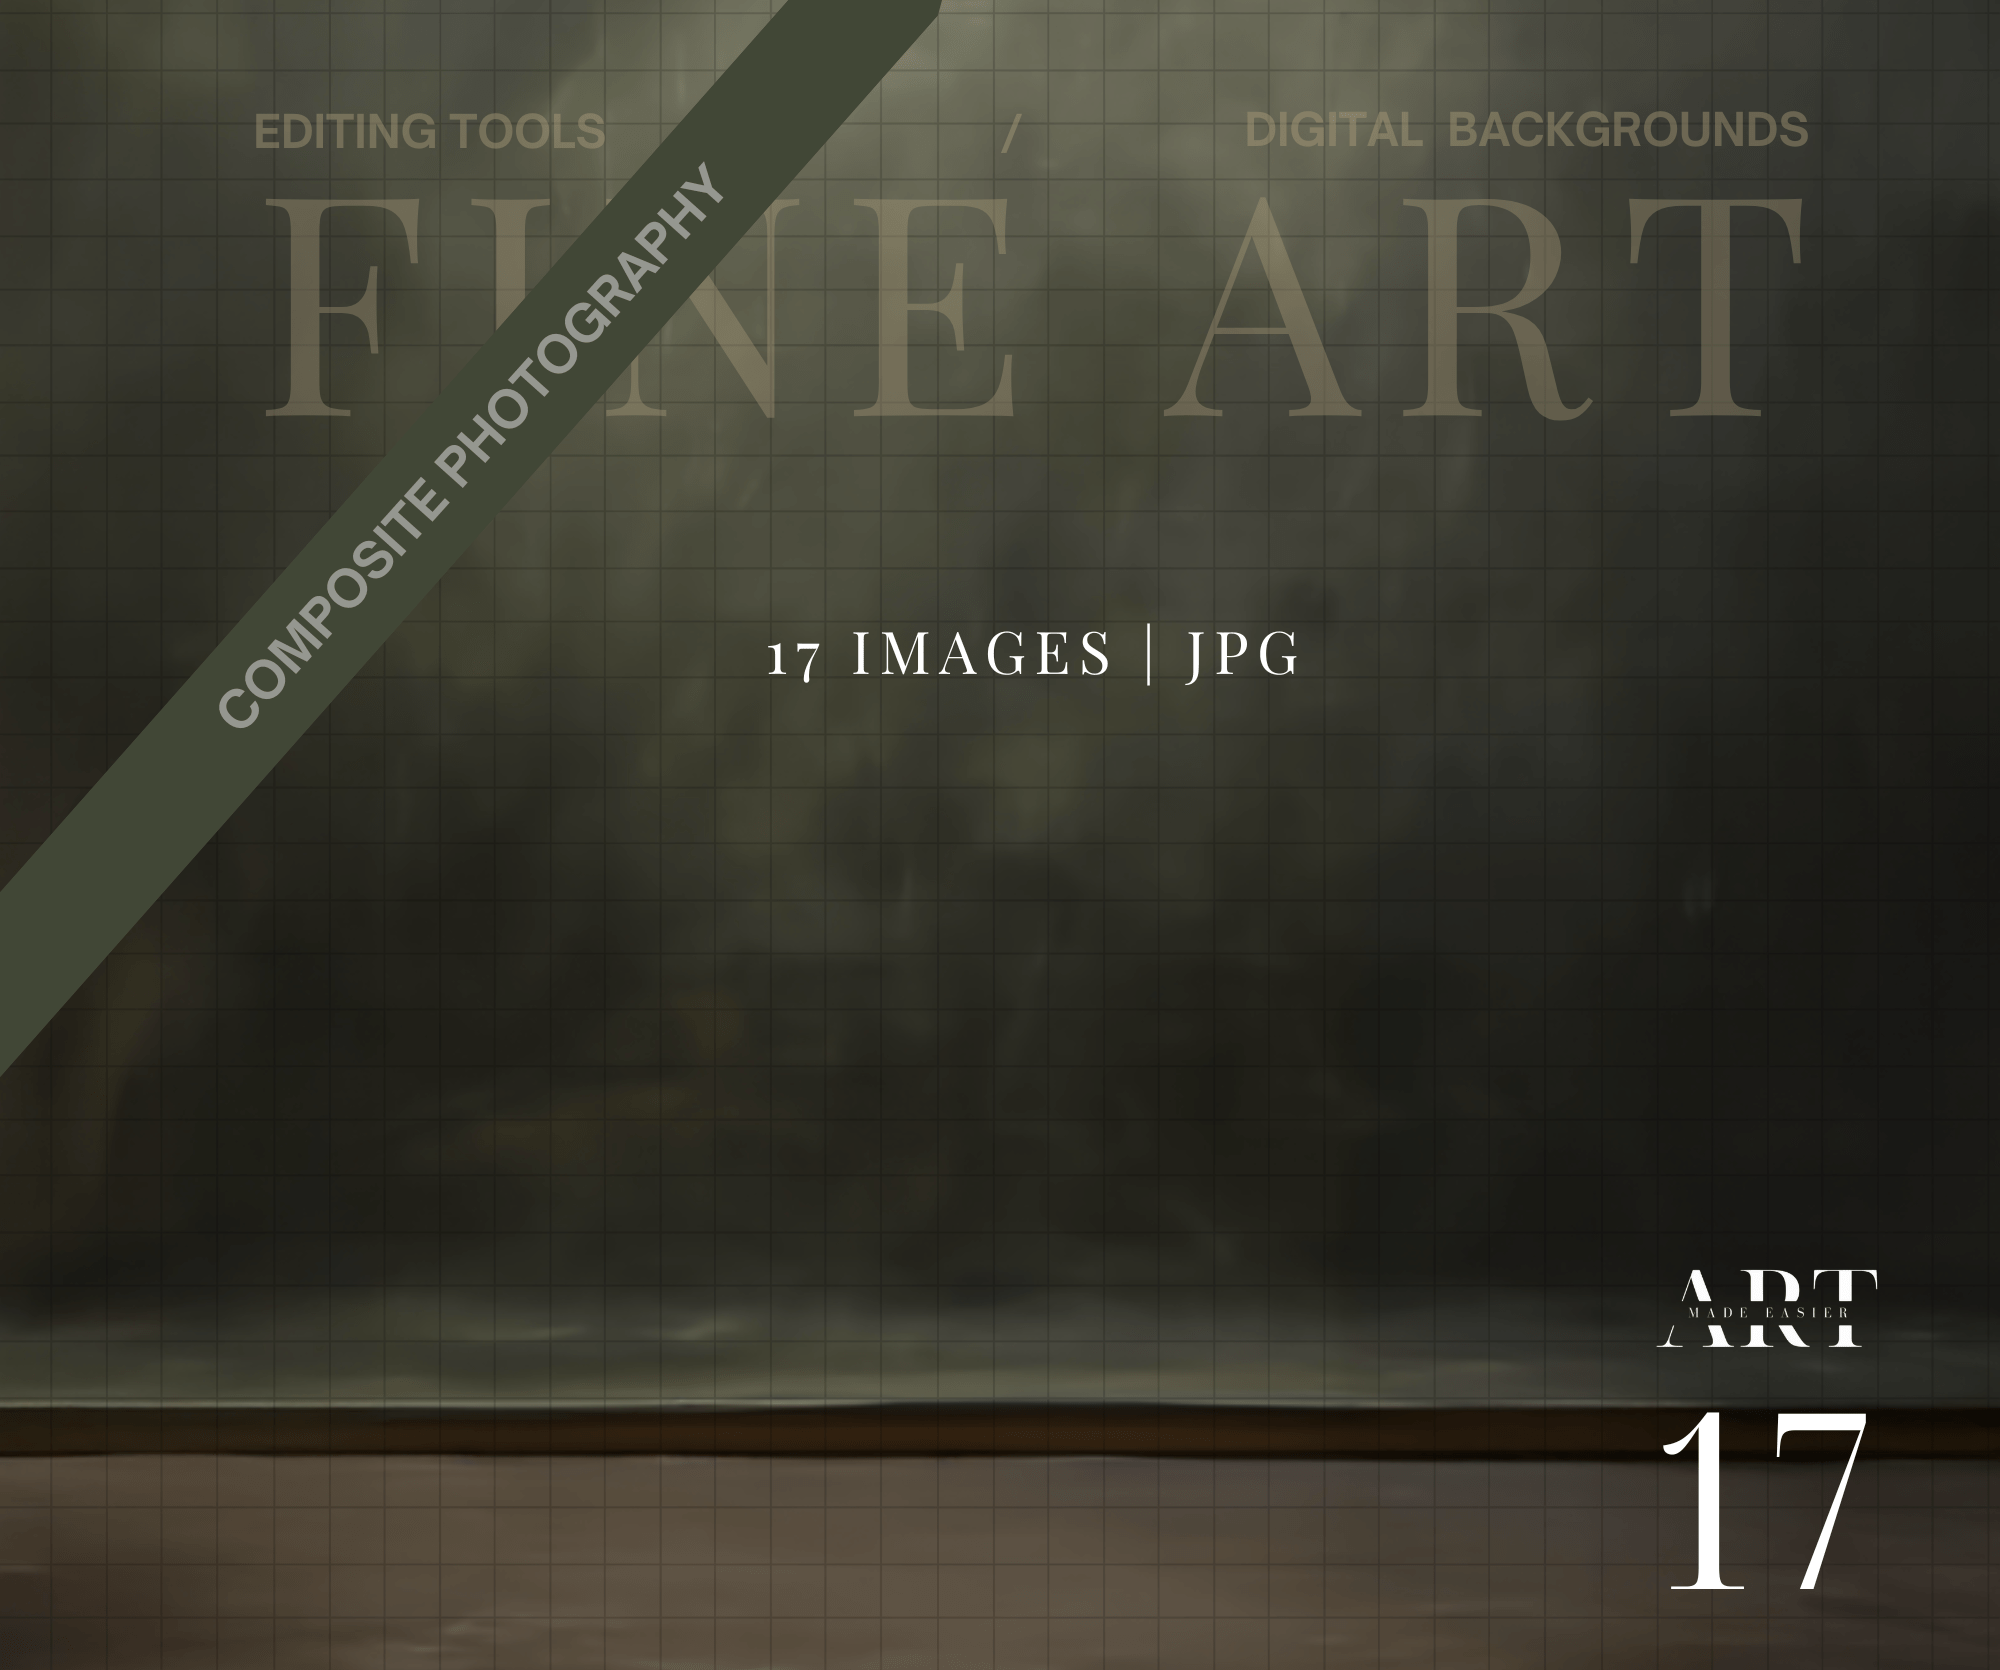
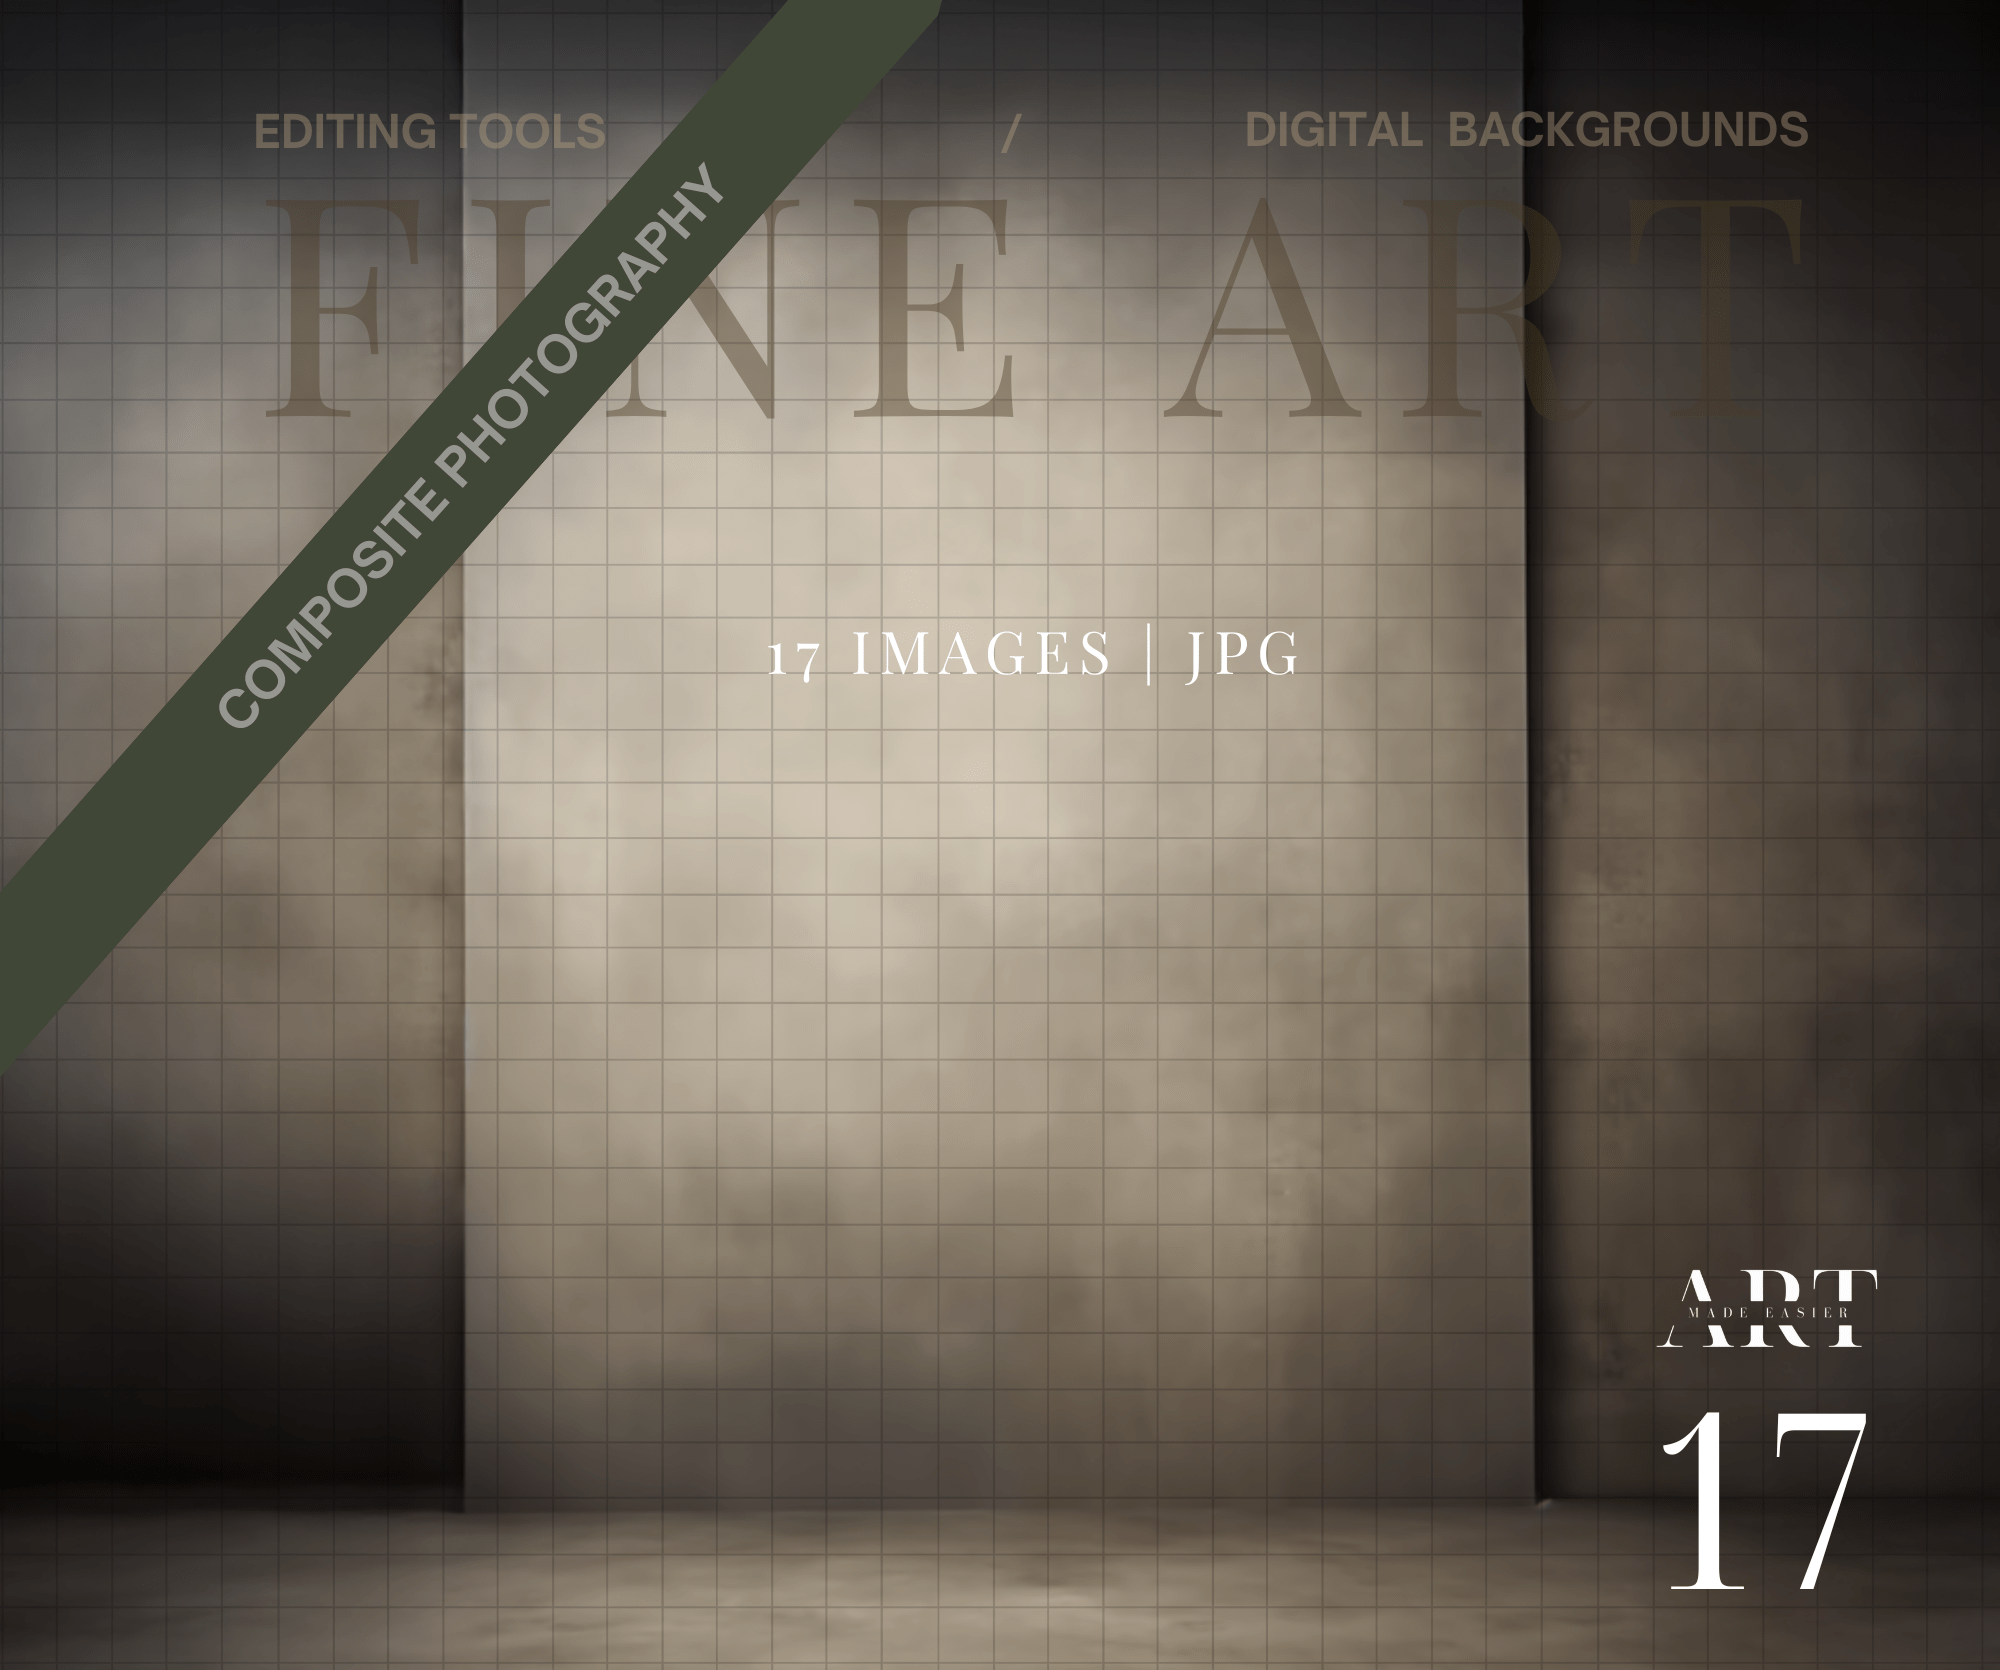
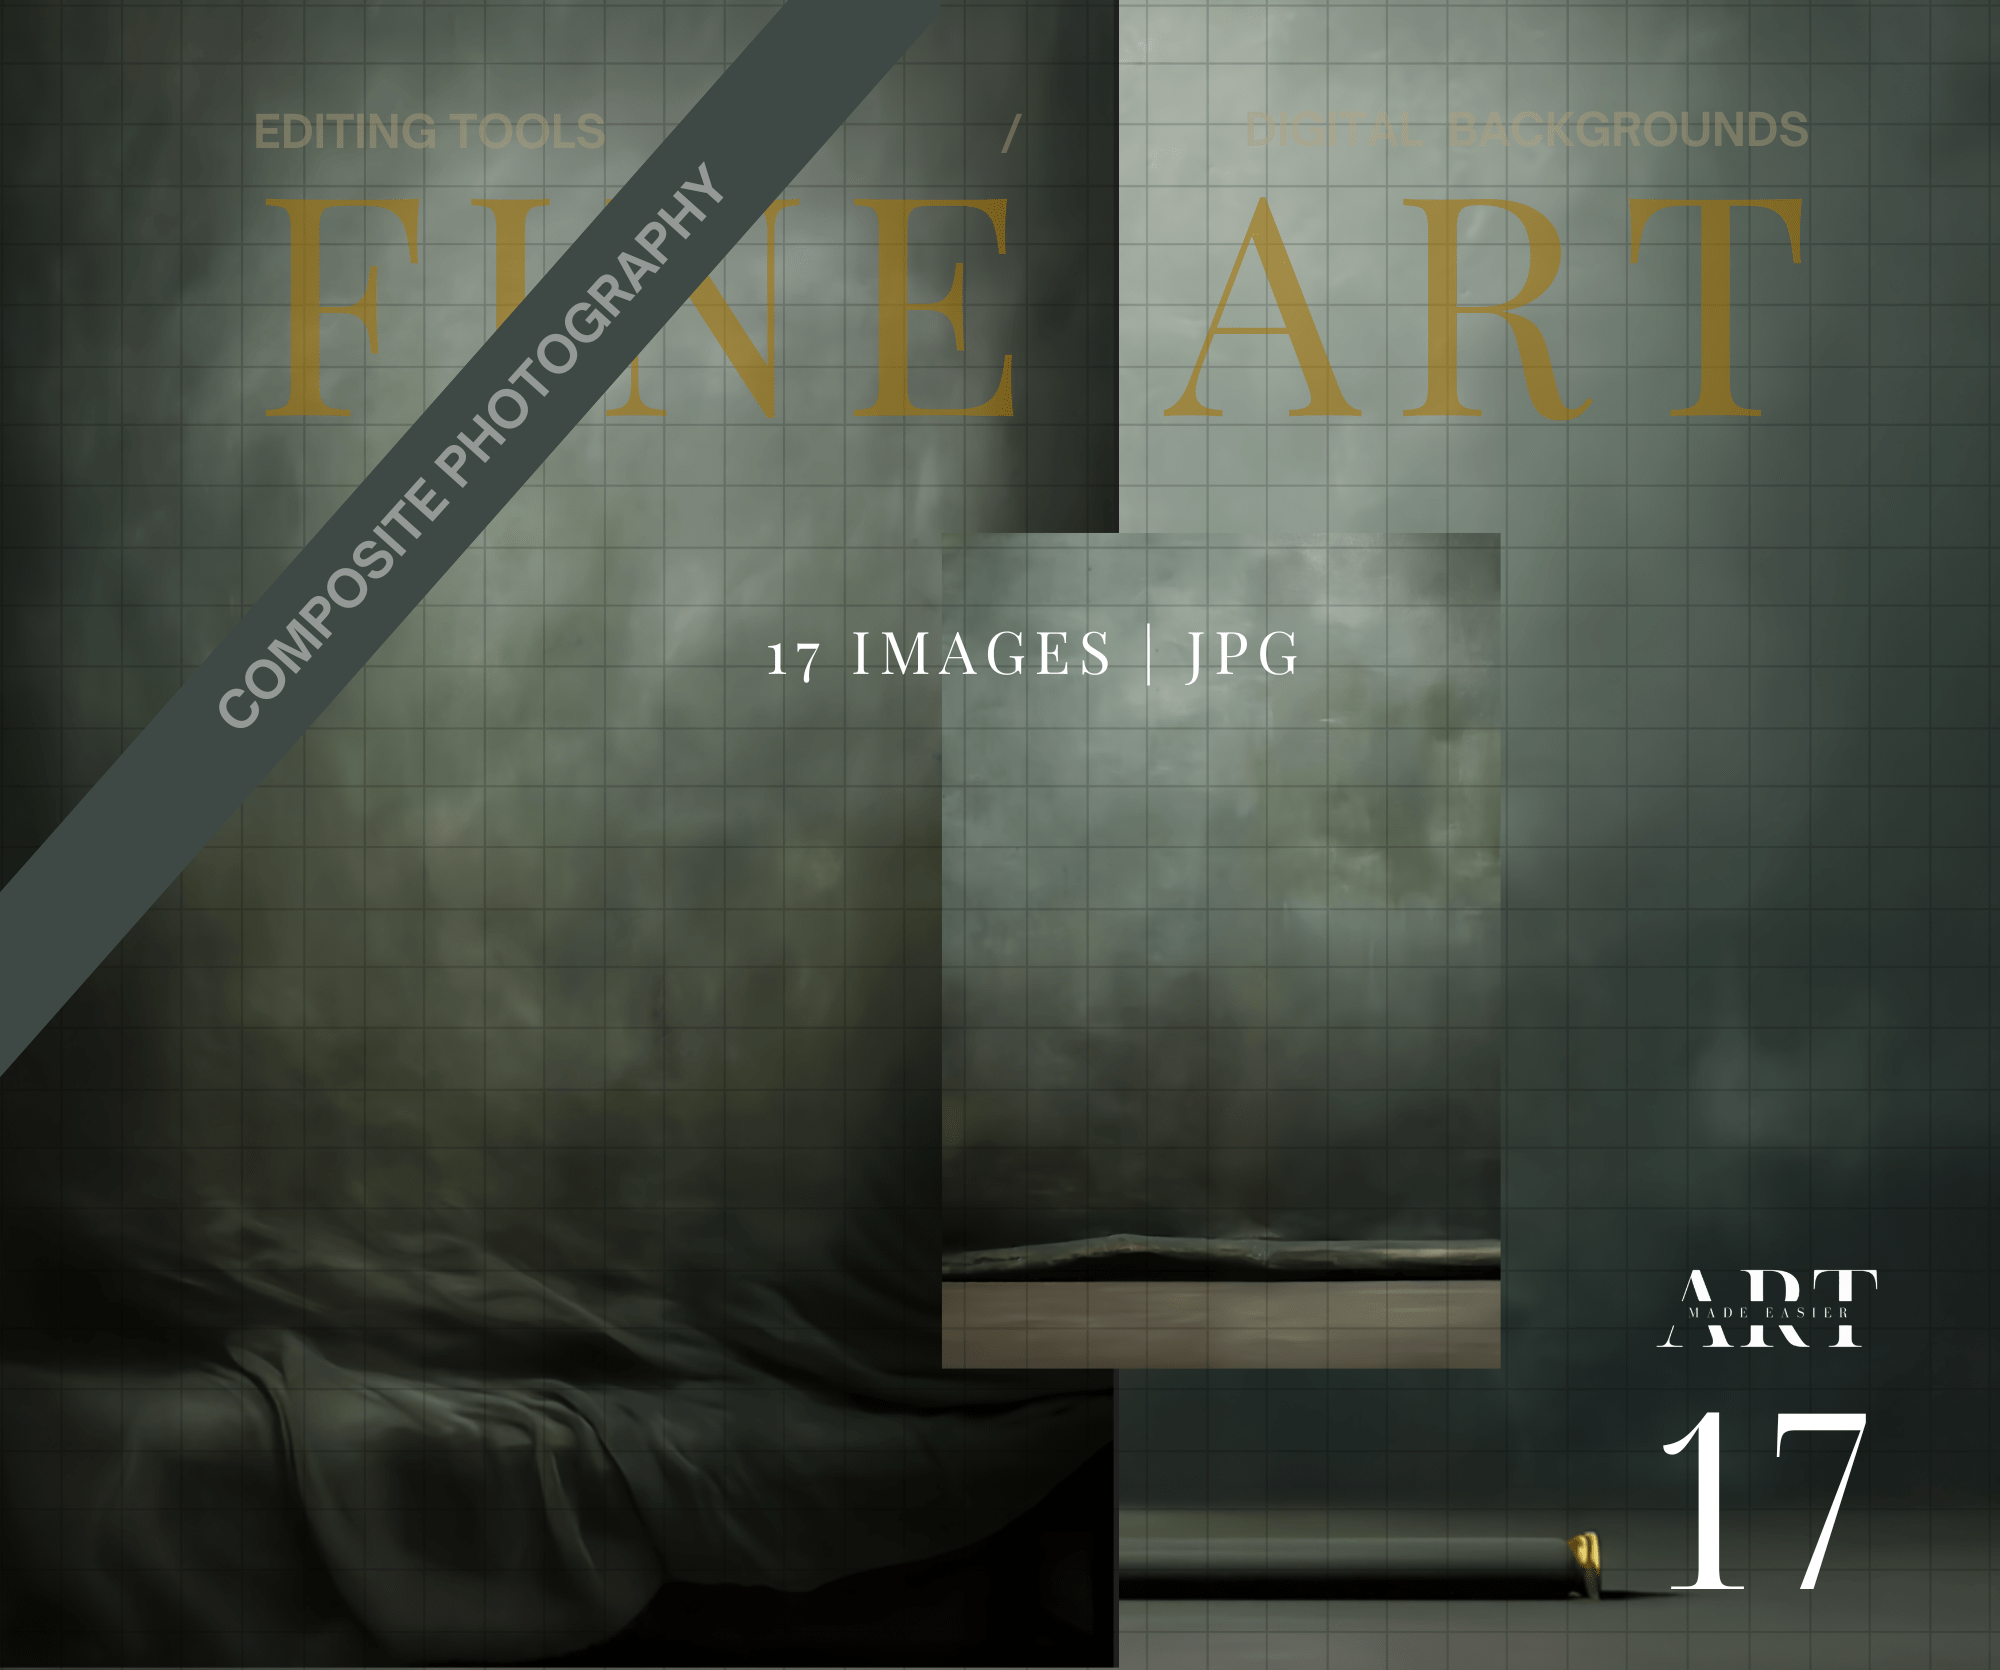
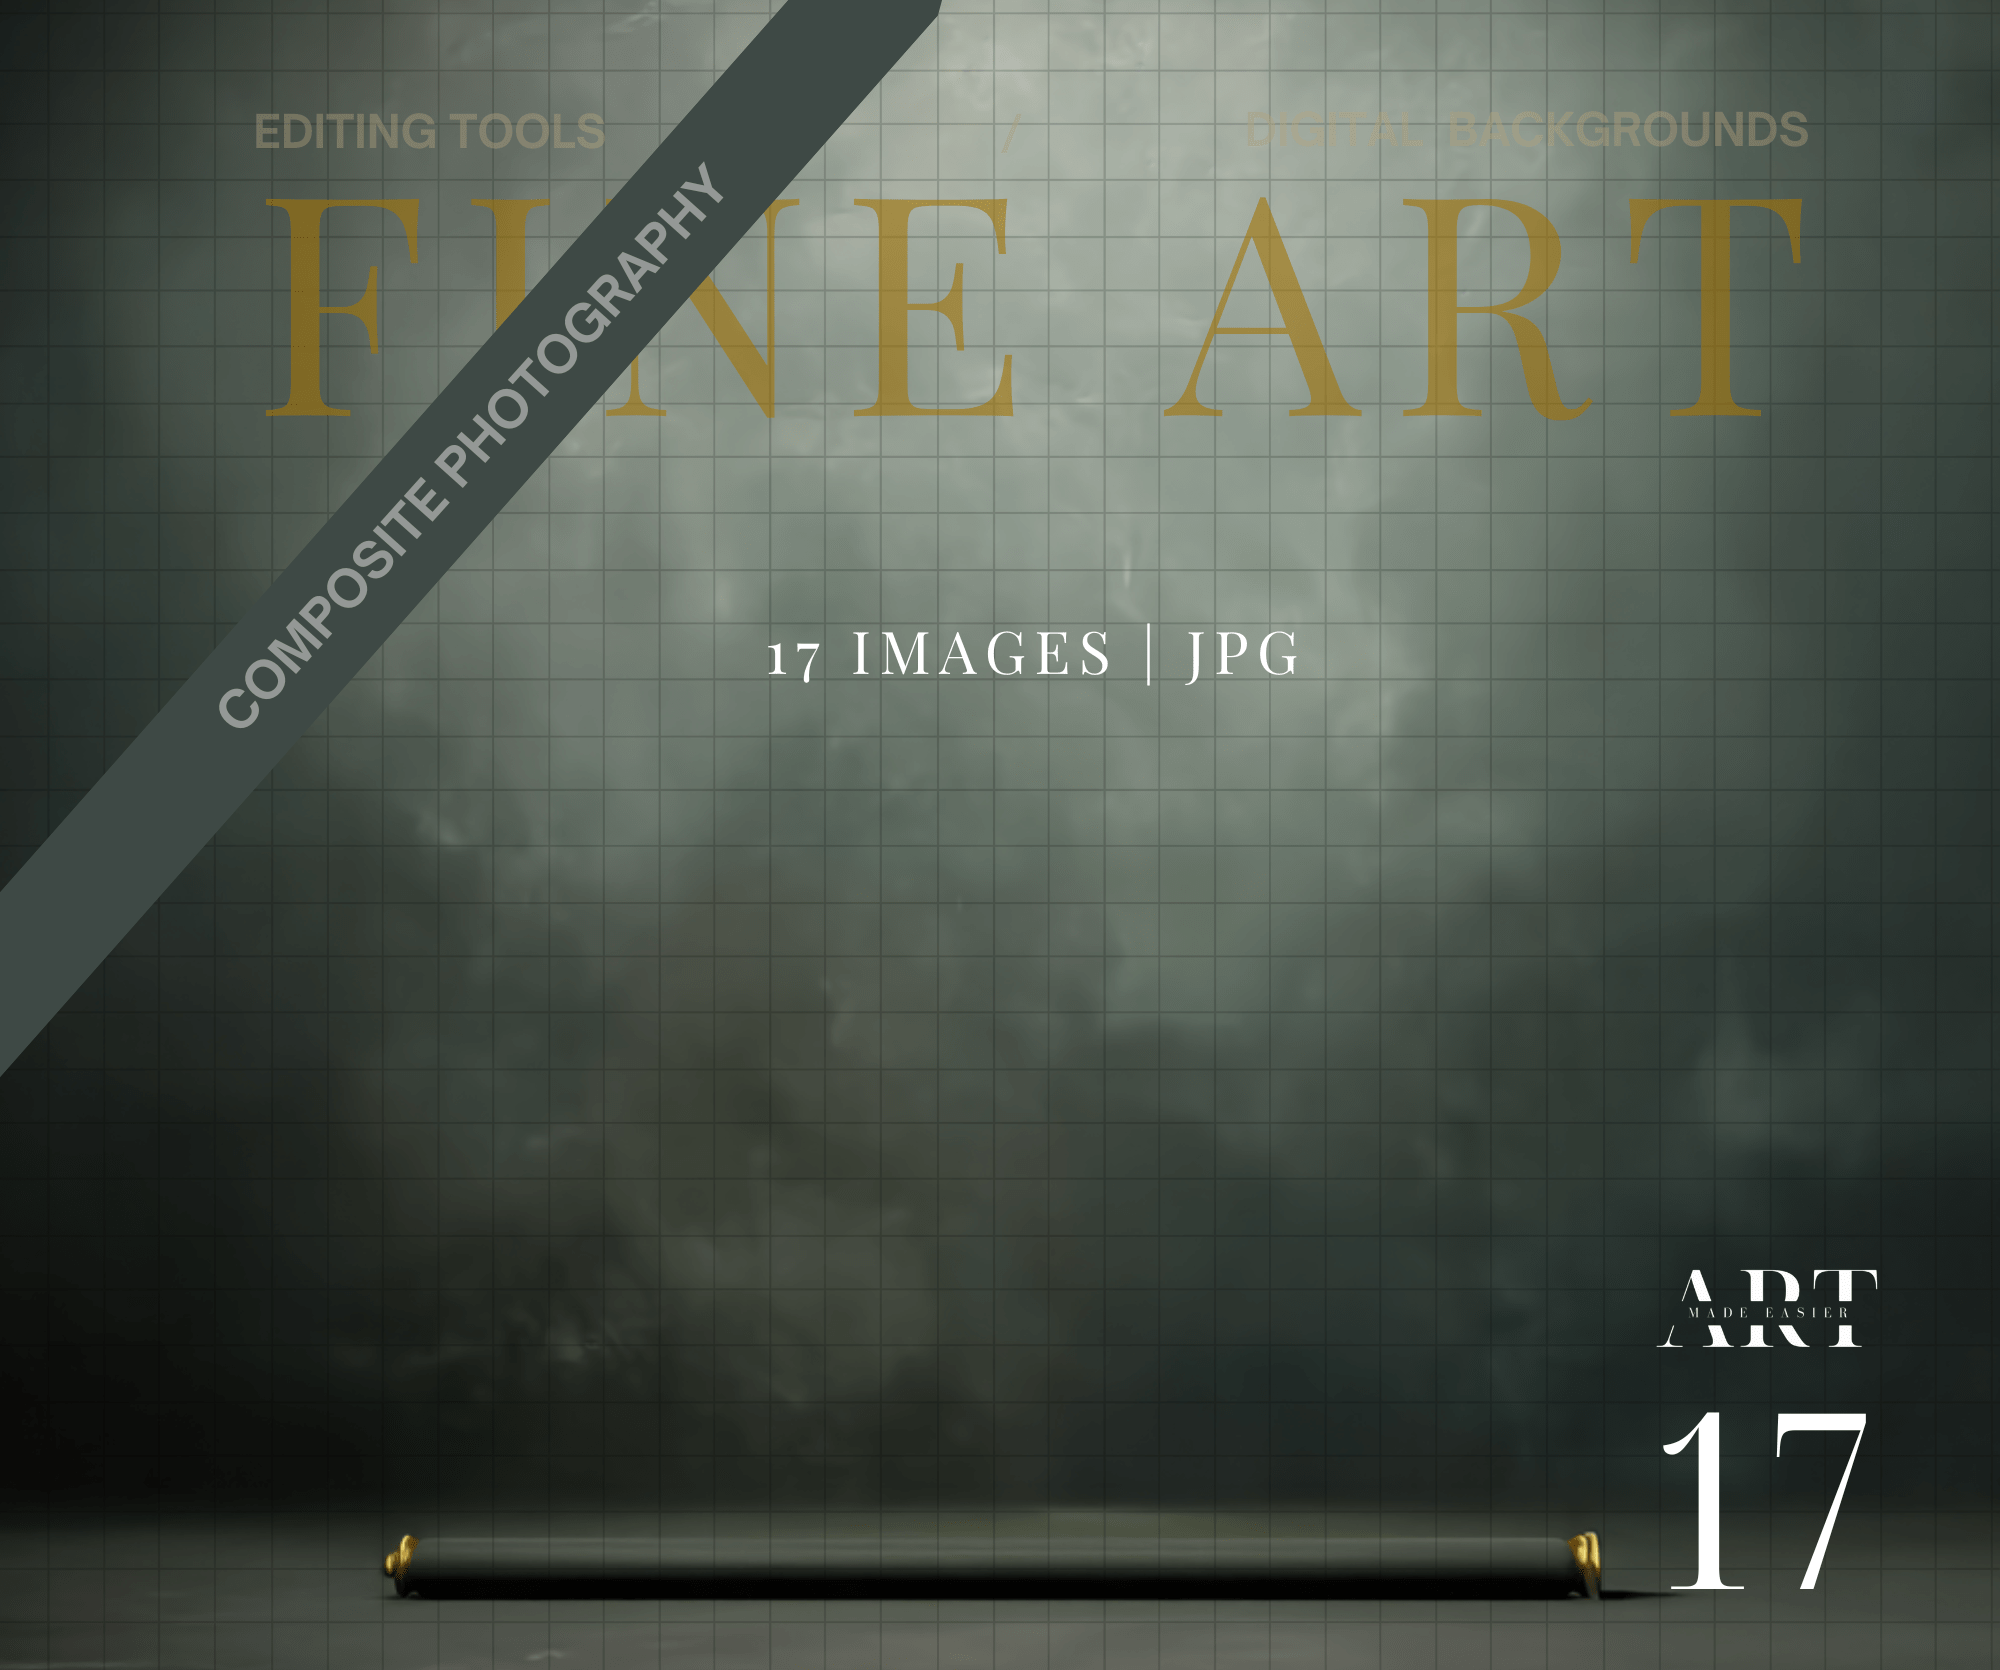
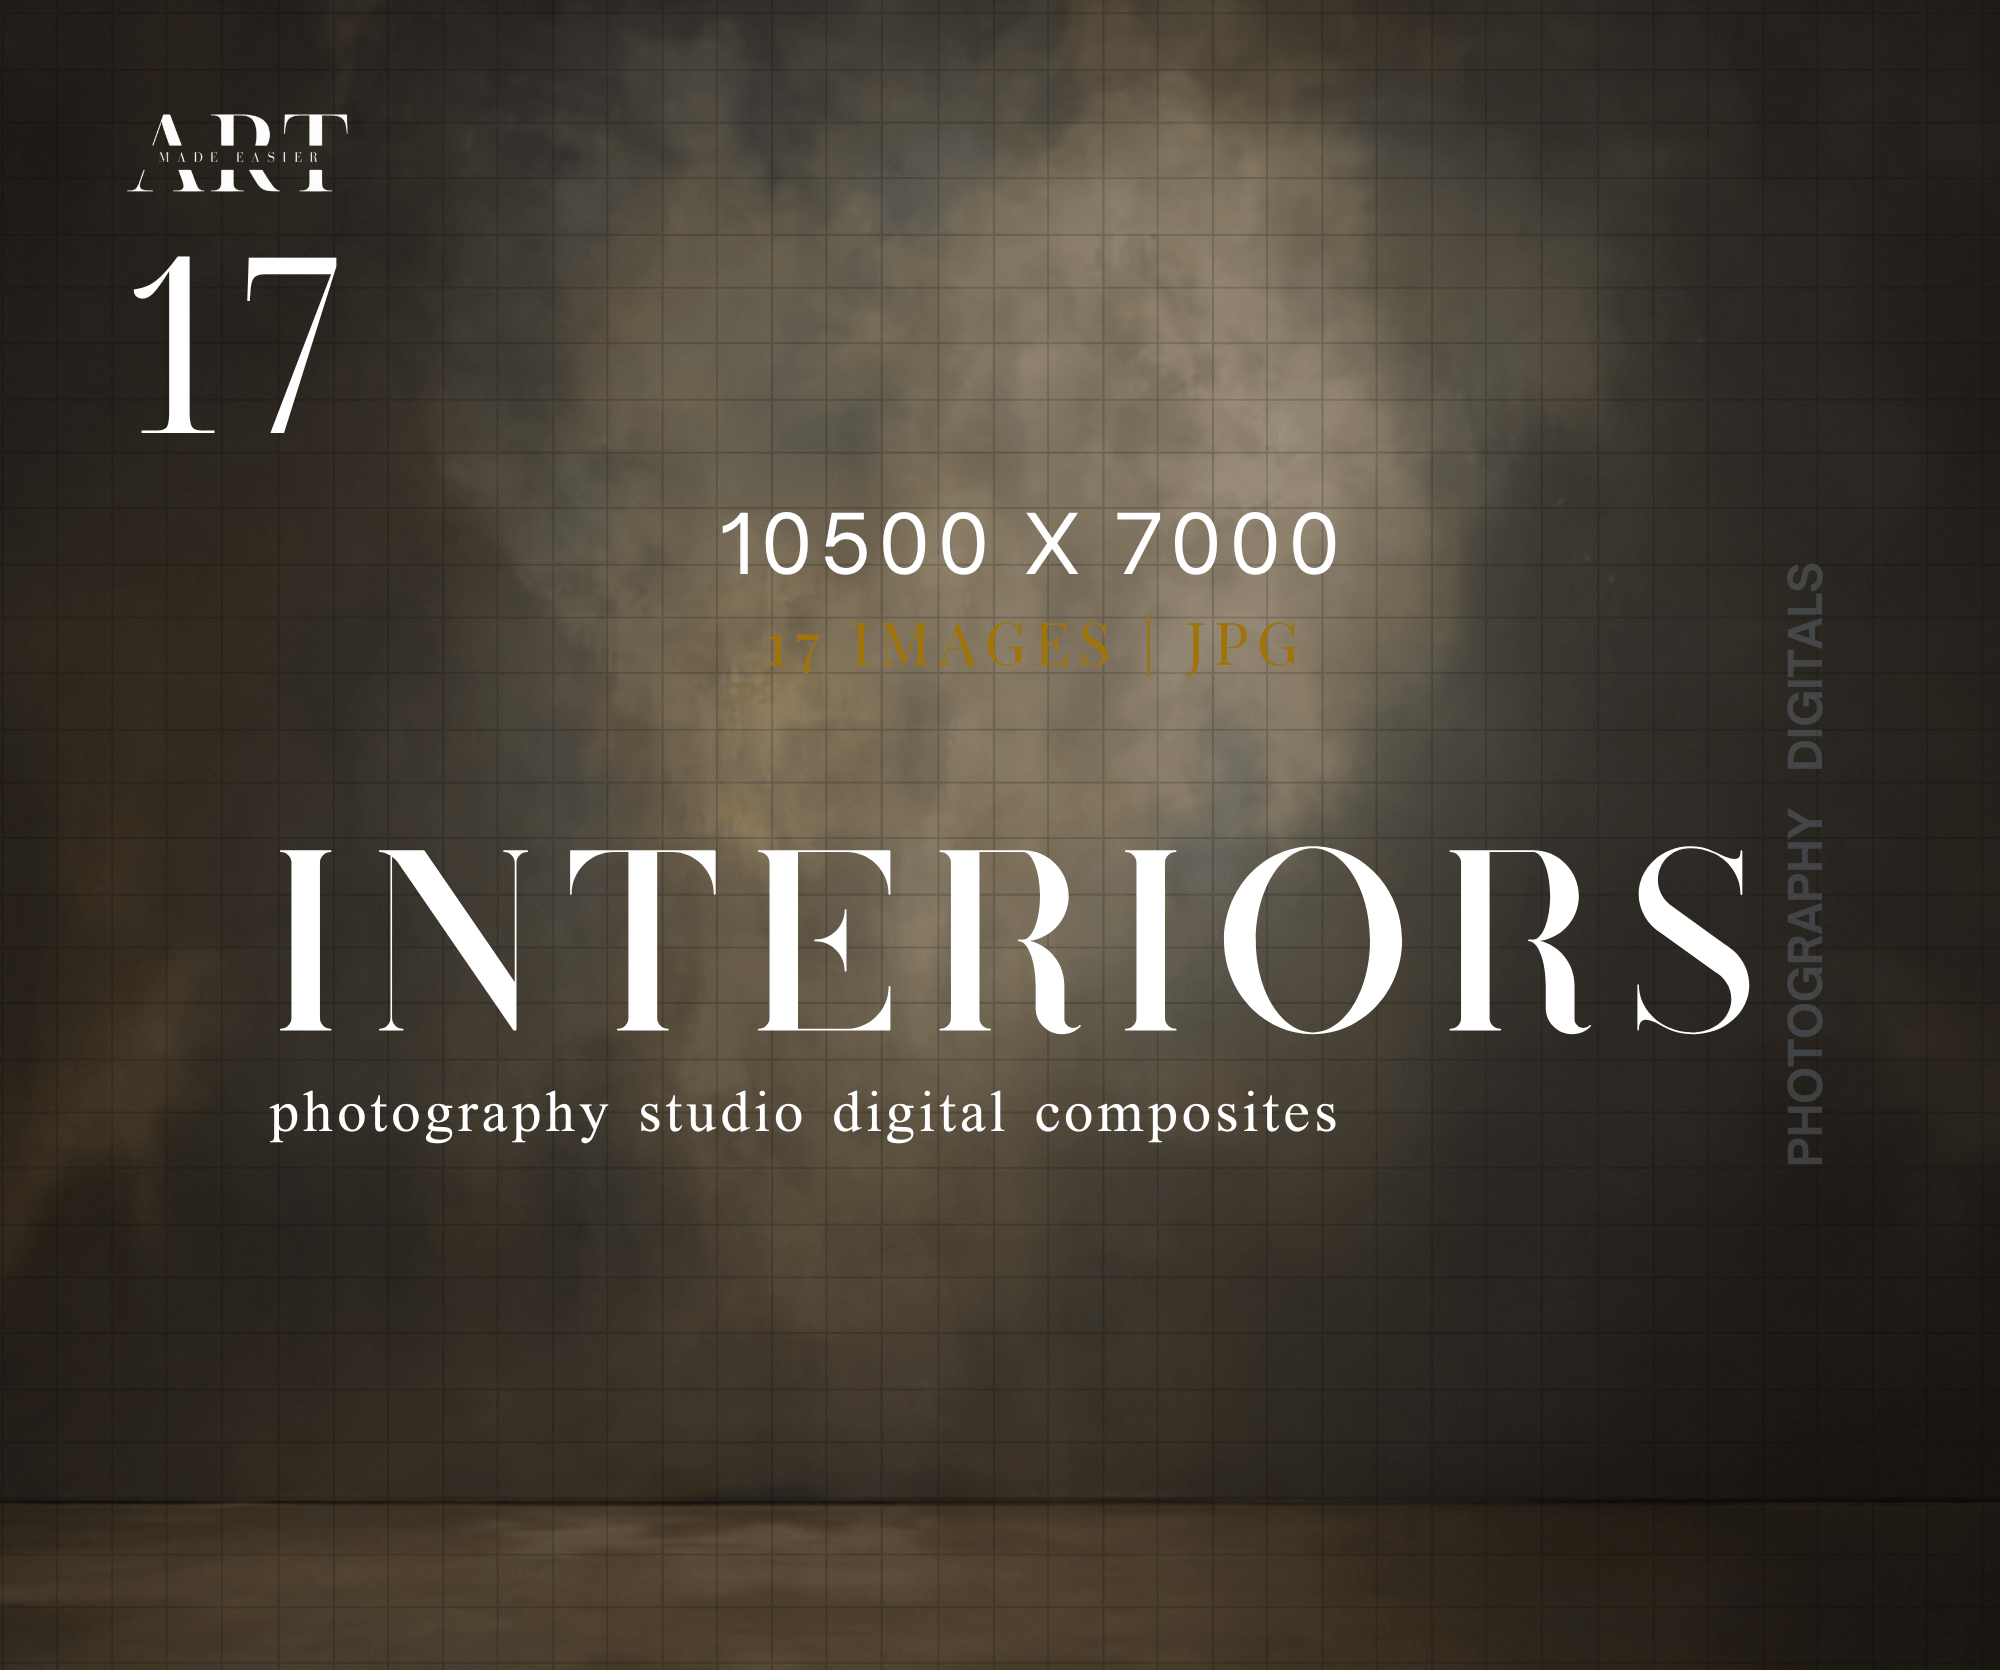
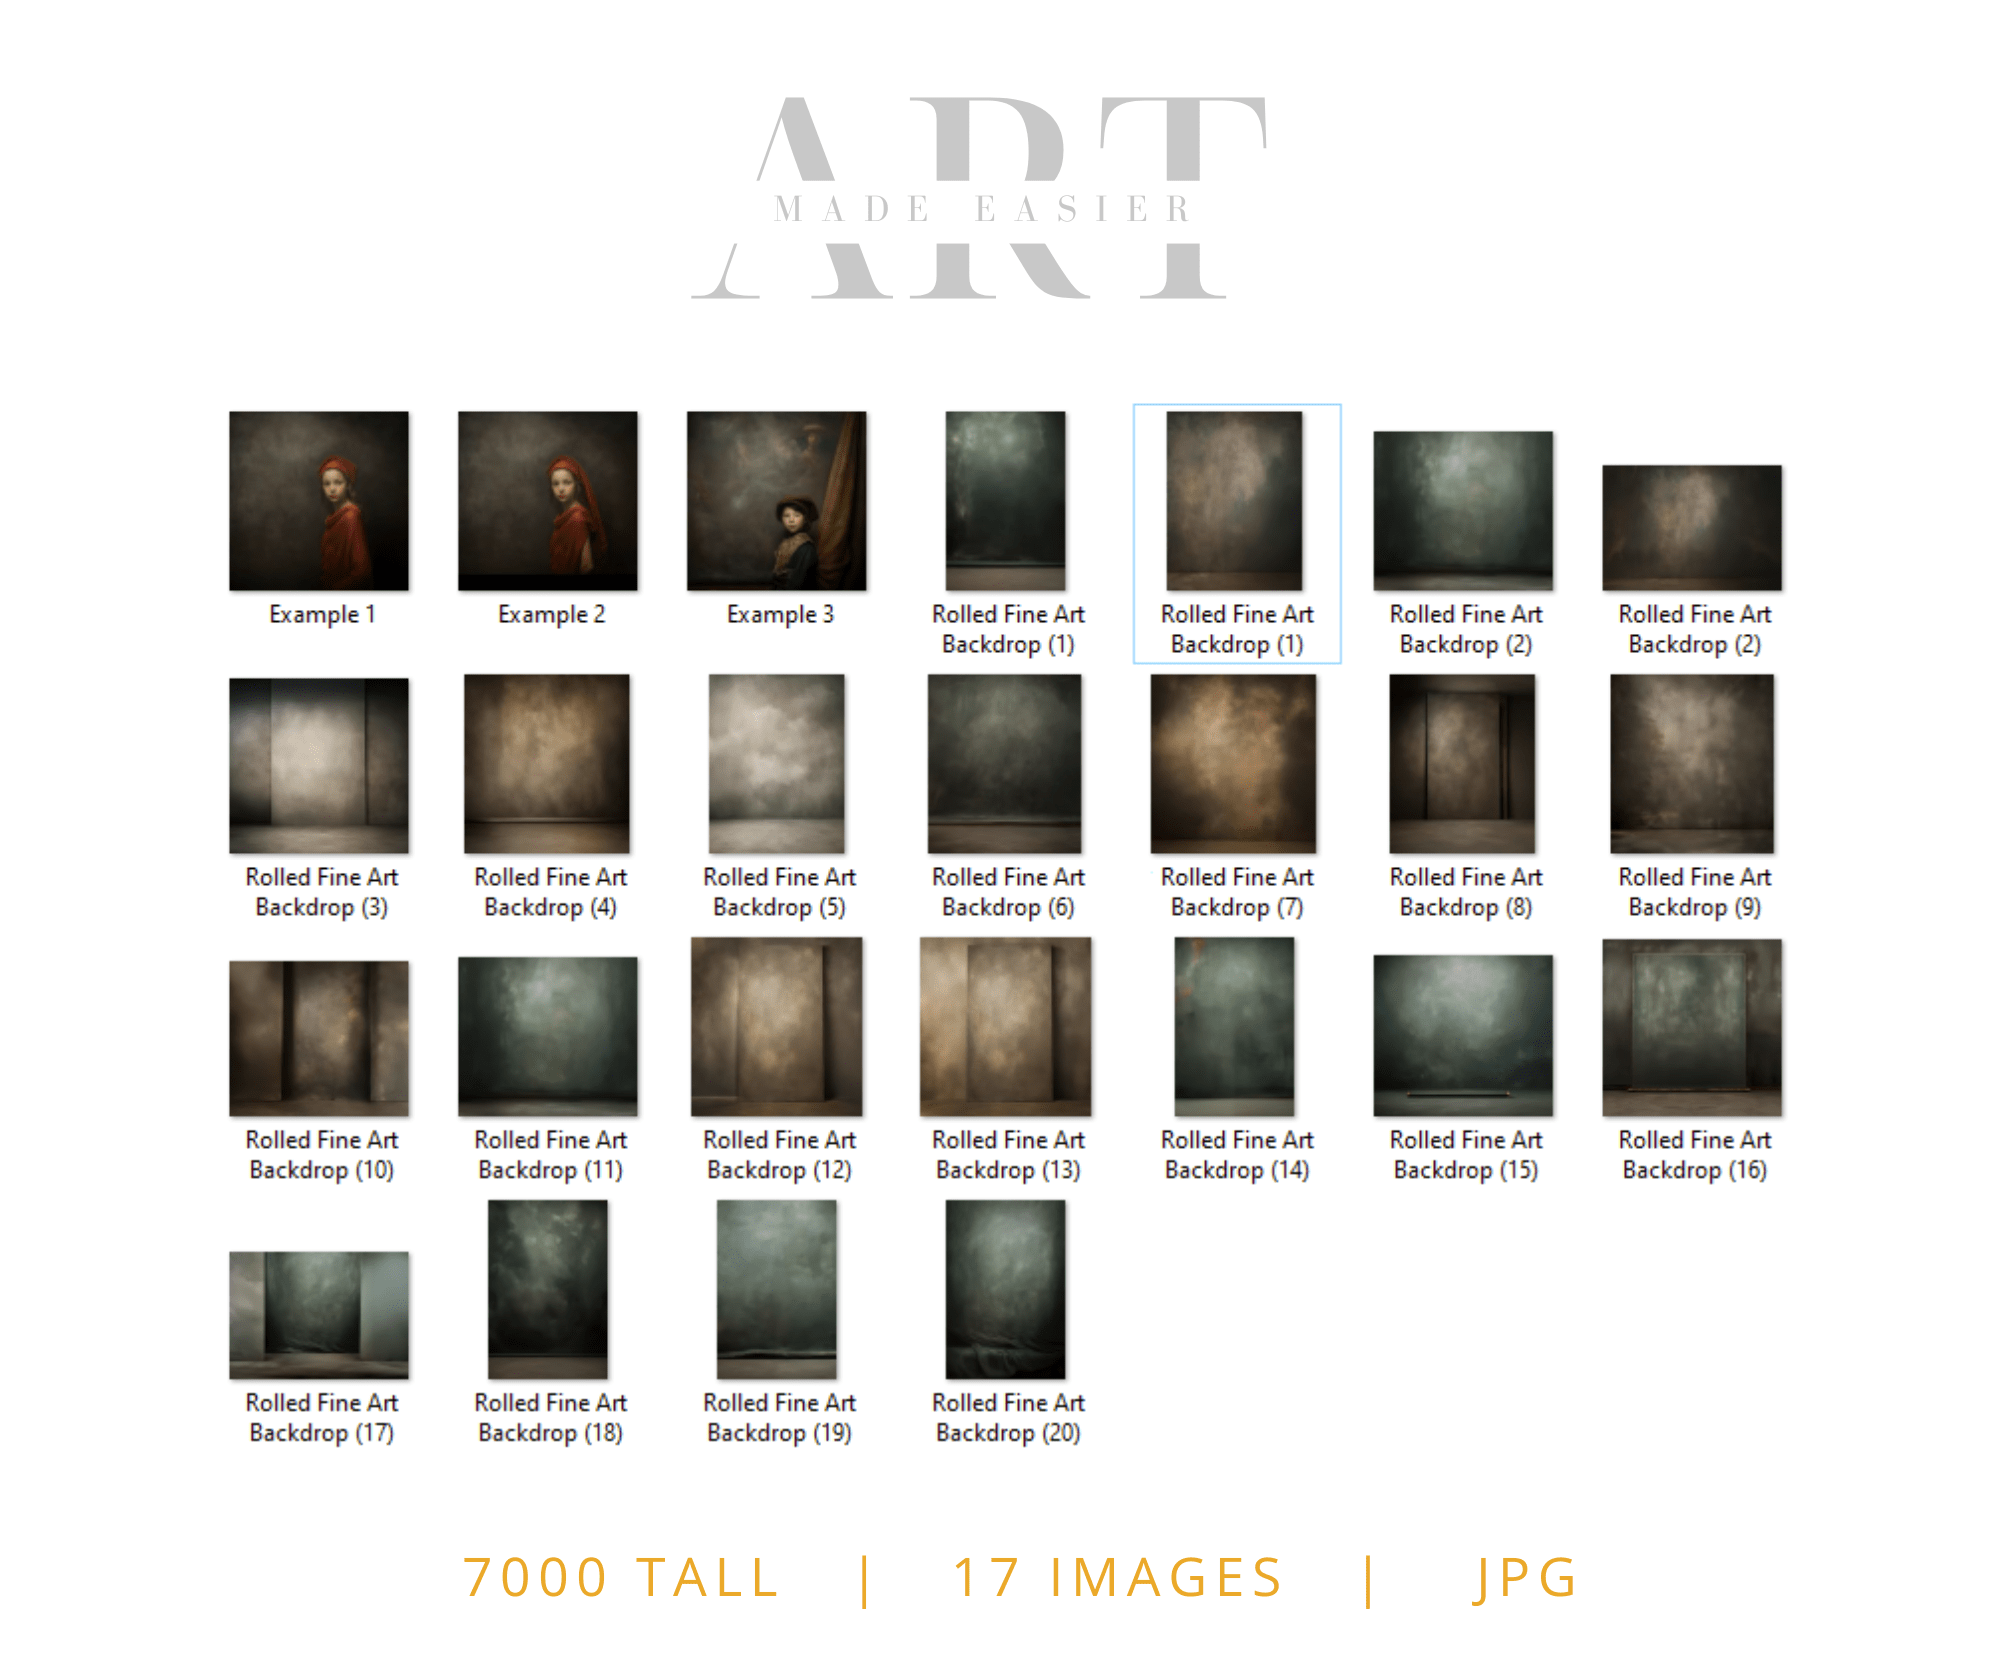
Create impossible scenes and limitless possibilities with composite backgrounds. Your secret to stunning, storytelling imagery.
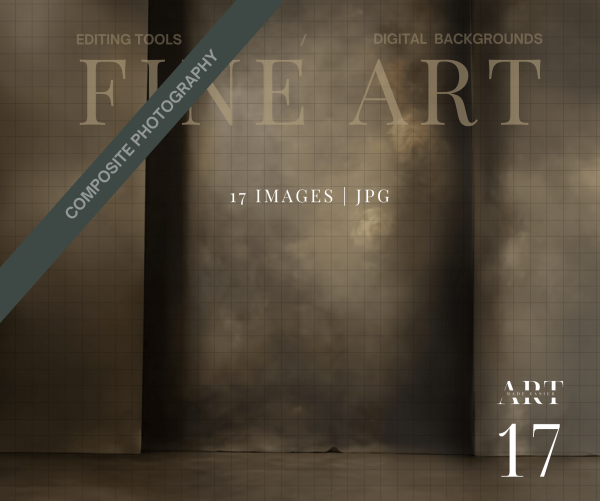
Create impossible scenes and limitless possibilities with composite backgrounds. Your secret to stunning, storytelling imagery.
STUDIO Composites On Pinterest – https://bit.ly/3TkDKD0
PNG Composites on Pinterest – https://bit.ly/48Ff9gs
BLUE Composites on Pinterest – https://bit.ly/3uLxrPu
BROWN Composites On Pinterest – https://bit.ly/3V4xNuZ
GREEN Composites On Pinterest – https://bit.ly/3TjRX30
More Composites – Pinterest – https://bit.ly/3UZQd09
Discontinued Free Composites – https://bit.ly/freecomposites
Follow My Pinterest: https://bit.ly/artmadeeasiercomposites
Follow My Facebook https://bit.ly/artmadeeasierfacebook
Follow My Pixabay https://bit.ly/MerandaDevanPixabay
Here are some tips to making them blend the best with your photography in Photoshop:
GENERATE FILL – Photoshop – The Best!
The very best compositing tip – Use your LASSO tool in photoshop around your subject, selecting small sections at a time, and click your generate fill. This creates a beautiful seamless transition every single time. There is no need to create shadows anymore between the composite and your subject with this AI feature. ( This is photoshop beta version )
REMOVAL
PhotoRoom – is a terrific resource for background removal. https://www.photoroom.com/tools/background-remover. It even cuts out hair.
PIC WISH is a terrific resource for background removal. It still does a better job that the most recent PS update in June 2024. They seem to cut out hair better than PS, and you buy a bundle of credits, and simply pay for each background removal edit. They give you a fairly good size file back. This program works from your own computer.
DARKER – MATTED – LIGHTER MATCHES:
Use LEVELS Adjustment Layers – Levels pretty much darkens your photo, but also can give it a matte appearance, adjusting the highlights and the blacks. This is my go-to-adjustment. What I do is apply this, mess around with it until I can get it close enough to blend well. If you notice light coming in at a certain direction, simply erase off where the light is coming from.
LOWER THE OPACITY A TOUCH – Sometimes at the end, for a final adjustment, I lower the opacity of my overlay. I sometimes duplicate the layer, and just paint in at high opacity the details I want to bring back at 100%. I find this just softens the overlay, rather than it looking like a cutout.
CHANGE THE HIGHLIGHTS IN CAMERA RAW – I find this is another way of adjusting the highlights and blacks.
Use CURVES Adjustments – This is another adjustment as above, but darkens or lightens the object you are hoping to change. Simply CLIP this adjustment to your crown and it will only lighten or darken the crown rather than the whole picture.
SHADOWS USING BLANK LAYERS WITH A PAINT BRUSH – Use a blank layer to create shadows. Sample the color of the hair and paint in the shadows around the crown. Set it to overlay, and erase off from the skin. This file is placed under or behind the subject. BLUR it, lower the opacity.
USE GENERATION FILL – Photoshop has made compositing simpler than ever. I select the area I need fixed, and simply type in “remove”. You can do this around your cutouts for a better transition. For some reason AI calculates removing the section I selected, and fills it in better than would take me 20 or more minutes to do.
USE A LIGHT SPOTLIGHT LIGHT PNG OVERLAY – You can find these png light overlays for free on the internet. I like something with a bit of yellow tone to it. Overlay it in the direction of the light and BLUR it. It gives you a soft BLEND effect, which you can then remove from the face. Its an extra layer of blending for my composites.
ADD A MATTE FINAL LAYER – I find that at the end of my edits, I add a final slight matte effect because it further blends my composite together. I find that this matte effect gives me the fine art effect.
CHANGING A COLOR of A Graphic: To change the color in photoshop, go into “Image” – “Adjustments”, “Replace color”. Use the eye dropper to select the color you want changed, and shift it around to your desired hue.
BLEND IT MATCH IT: To match the brightness and the mat effect of the photo, go into “LEVELS”, and clip it to the png graphic. From there, you have several sliders to adjust. This will give you a slightly matt effect, or a darkening or lightening effect.
Add A Slight COLOR MATCH : To Match the overall tones of the composite, use a “COLOR BALANCE LAYER”. This can give you the color matching effect the best.
Have fun editing!

